Overview
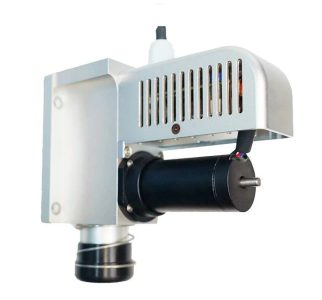
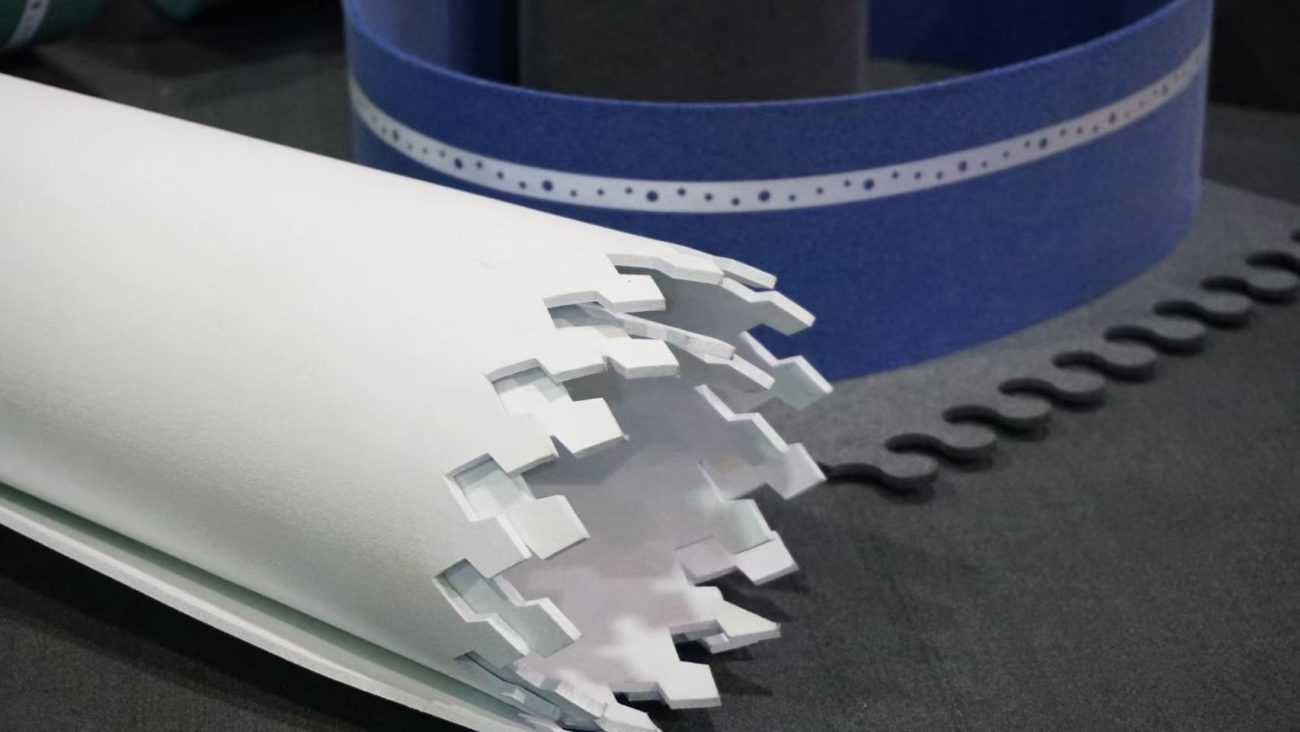
Integrated vibration knife-B, the vibration knife and the pressure wheel parts can be replaced, and can process advertising KT board, foam board, ABS plastic, corrugated plastic board, corrugated paper, cardboard, etc.
The basic principle of the vibration knife is to drive the blade to reciprocate at ultra-high speed through the motor to cut the material, which is particularly suitable for cutting and shaping medium-density materials. Match different blades to achieve the processing of different materials.
Component Description
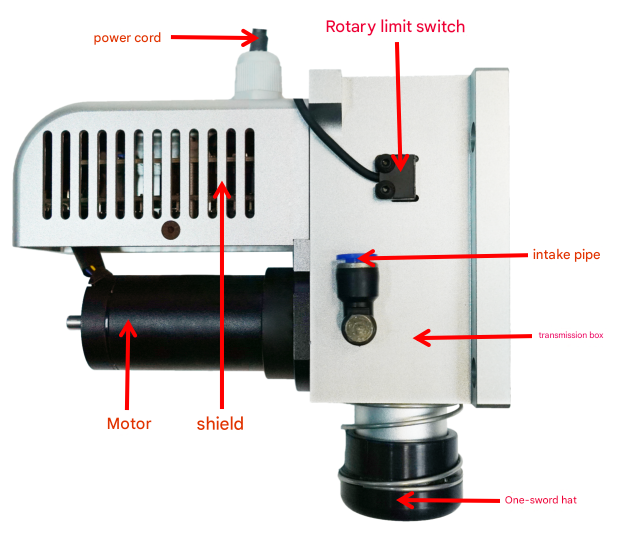
Component Description
Power cord: Provides power
Motor: Power element
Transmission box: Internal vibration components, external mounting holes
Inlet pipe: Internal cooling gas inlet
Handle: Vibrating blade
Cutter head cap: Used to hold materials tight during cutting
Drive plate shield: Protects the drive plate
Installation Dimensions
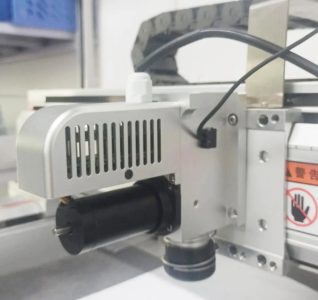
Installation Dimensions

Instructions for use and debugging
(1)Blade installation
The blade cap can be removed by pushing it downwards slightly, and installed by pushing it upwards slightly.

Blade cover: Turn counterclockwise to remove, turn clockwise to tighten.

After inserting the blade, tighten the top screw on the left side (the M4x6 top screw at the arrow point cannot be loose and needs to be checked regularly).

(2)Disassembly of the blade clamp
Method 1: Use a screwdriver to move the blade clamp back and forth. Once the blade clamp is loose, it can be removed (recommended).
Method 2: First clamp the waste blade with the blade clamp, then clamp the blade clamp with pliers and pull it out.
(3) Install the pressure wheel
Loosen the top screws on the left and right sides and remove the cutter head, blade clamp and blade.

Align the M4x5 top screw hole of the pressure wheel with the flat position, and then tighten the M4x5 top screw to the flat position to complete the installation of the pressure wheel.

(4) Frequency adjustment
The adjustment holes of different versions are located in different positions. Insert a small cross screwdriver into the adjustment hole and turn it clockwise or counterclockwise to adjust the vibration frequency. (Note: The adjustment knob is a precision electronic component and should not be adjusted too much).

(5)Oiling and maintenance
The sliding shaft needs to be lubricated from time to time by dripping clean sewing machine oil or other liquid lubricant.

Wiring Instructions
Wiring 1

| Rotary limit Switch line | White:Not used Black:Signal line Blue:DC24V- Brown:DC24V+ |
| Motor line | Black:DC5V- White:DC24V- Red:DC5V+ Yellow:DC24V+ |
Precautions
1. Clean and dry compressed gas must be connected. (For example, use a pneumatic triplex to filter, reduce pressure and add oil to the gas to ensure the normal operation of the pneumatic actuator and prevent malfunctions due to impurities, excessive air pressure or lack of oil.)
2. Configure a separate switching power supply, and it is recommended to configure 24V10A or above
3. Before powering on, confirm that the wiring is correct
4. Do not use excessive force when adjusting the frequency
5. Non-professionals are not allowed to disassemble the blade
6. Pay attention to safety when installing the blade and blade cap
7. When the motor temperature is too high, you can blow air to cool it. The cooling gas connected must be clean and dry
Product Parameters
| Order Model | Perce 91157 |
| Motor speed RPM | 0-16000 |
| Amplitude mm | 1 |
| Motor power/W | 80W |
| overall dimensions/mm | W122/H154/D60 |
| weight | 1.1 |
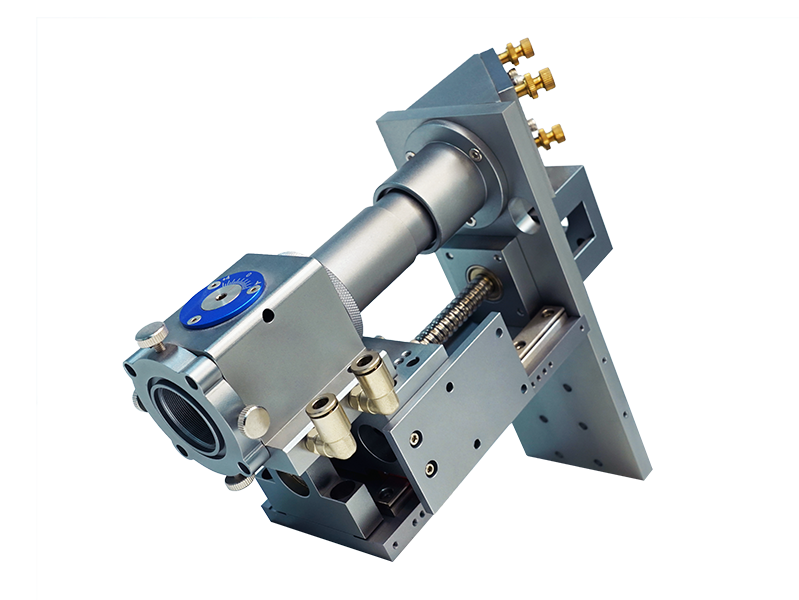
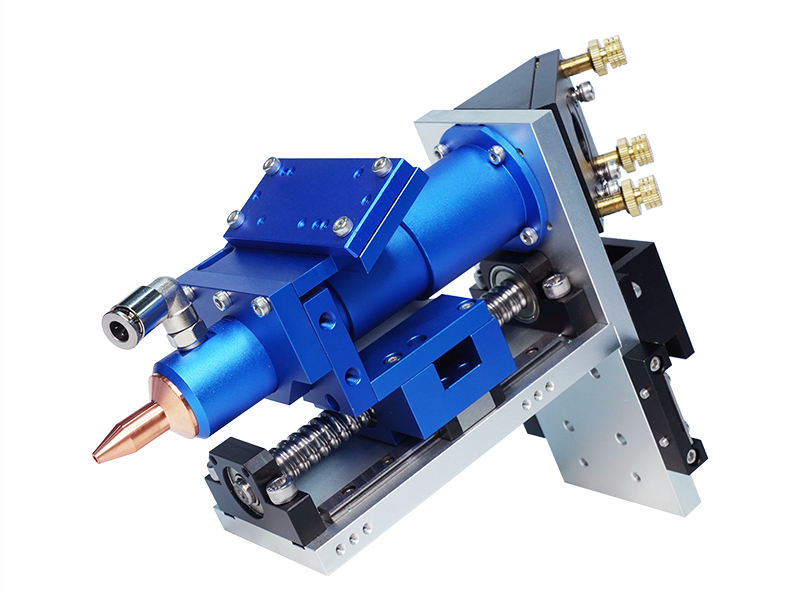
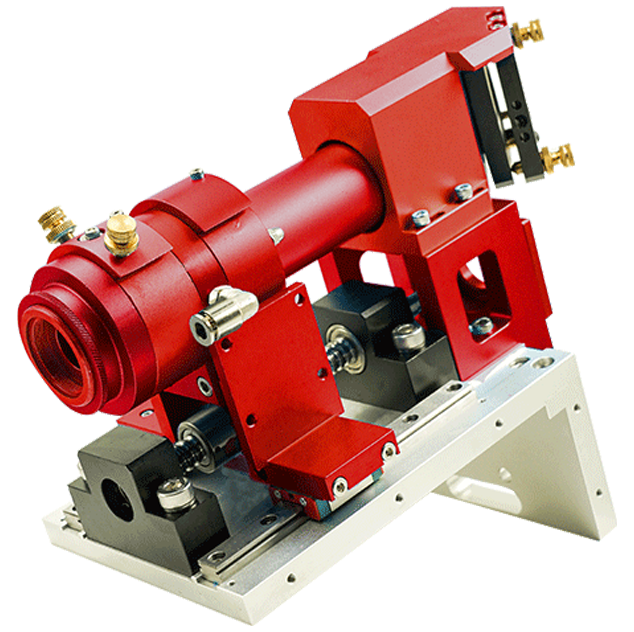
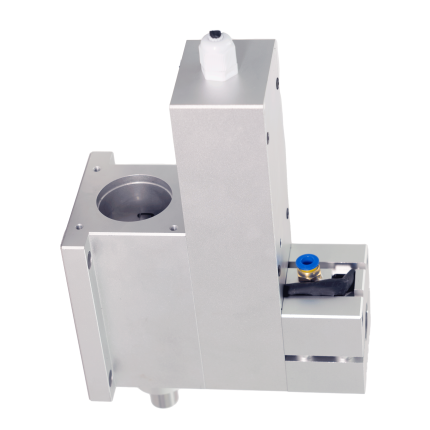
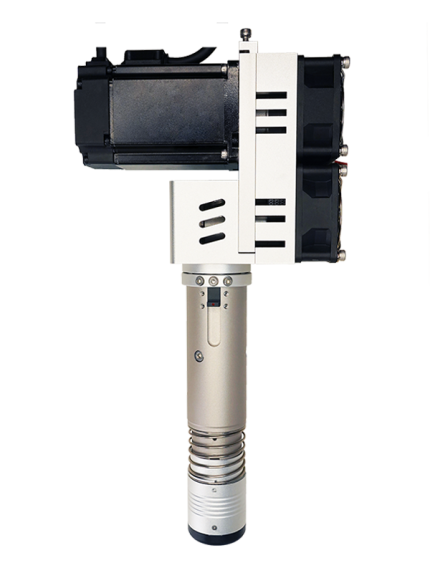
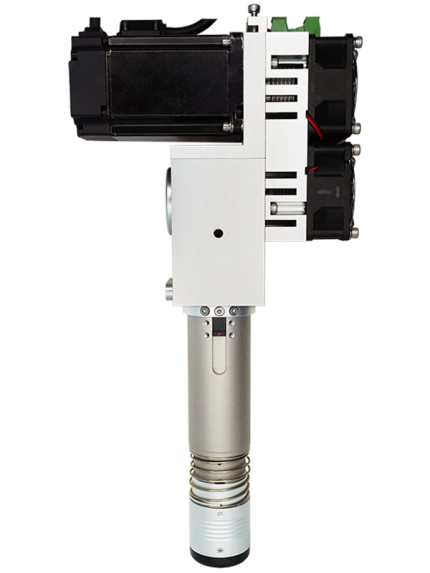
Multi-faceted appearance


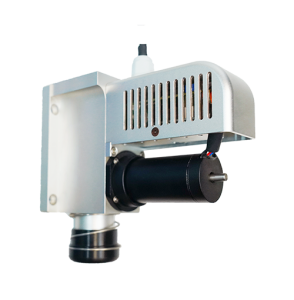
Shipping Configuration
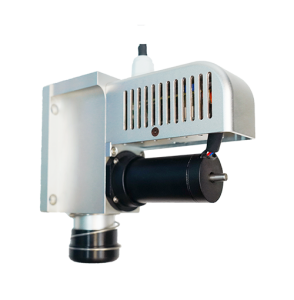
Perce 91214 Medium Power Oscillating Knife
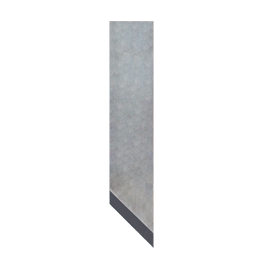
Perce 95014 Single Edge Blade
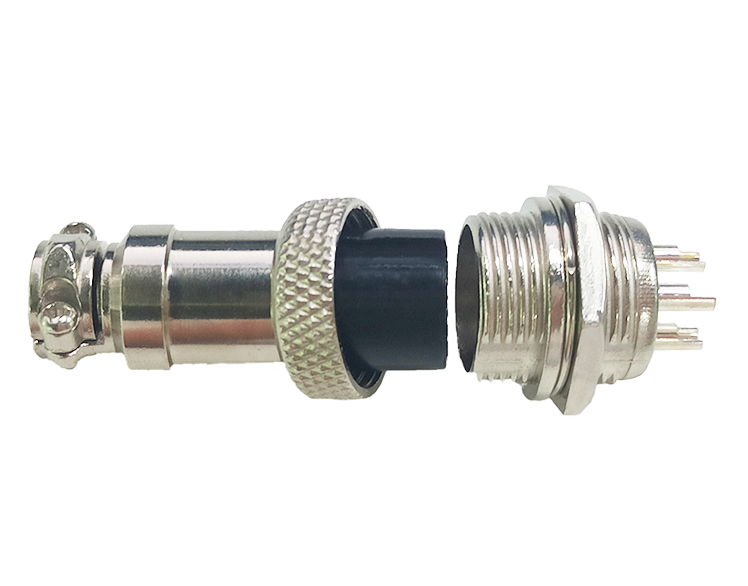
Perce 95136 Aviation Plug
Optional accessories
-4.png)
Perce 95010 Blade Clip (0.63/1/1.5/2mm)
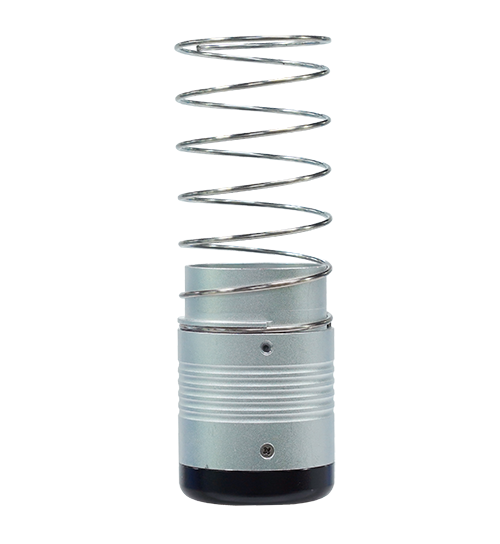
Perce 95011 Blade Cap
-1.png)
Perce 95014 Single Edge Blades (Various Sizes)
-2.png)
Perce 95015 Double Edge Blades (Various Sizes)
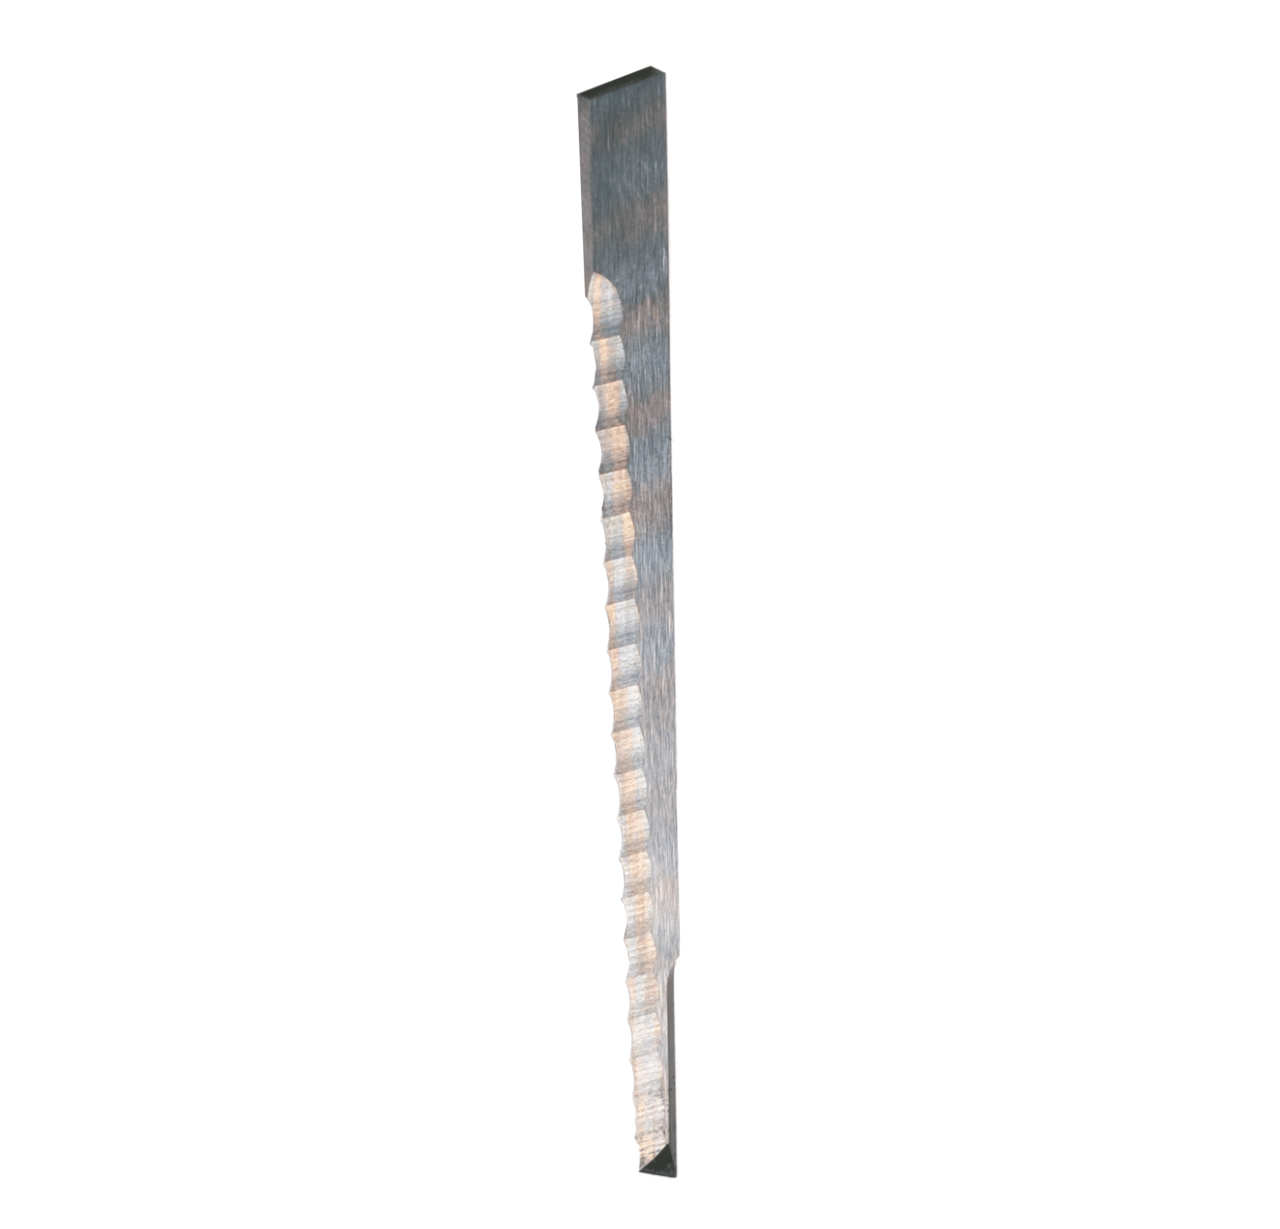
Perce 95034 Serrated Blade
-1.png)
Perce 95136 aviation plug (2/3/4/5 core)
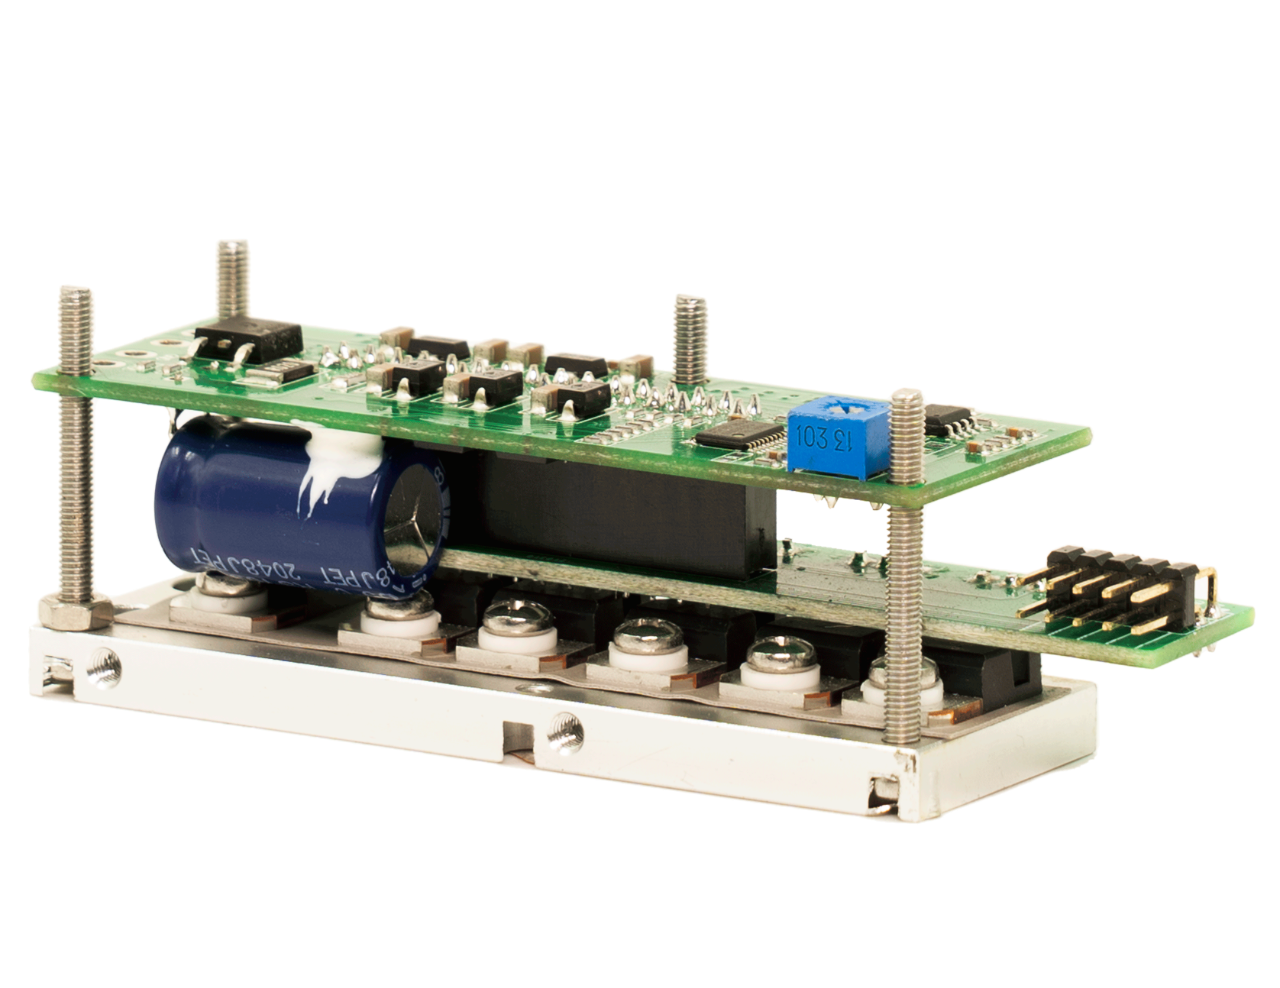
Perce 995013 32 driver board
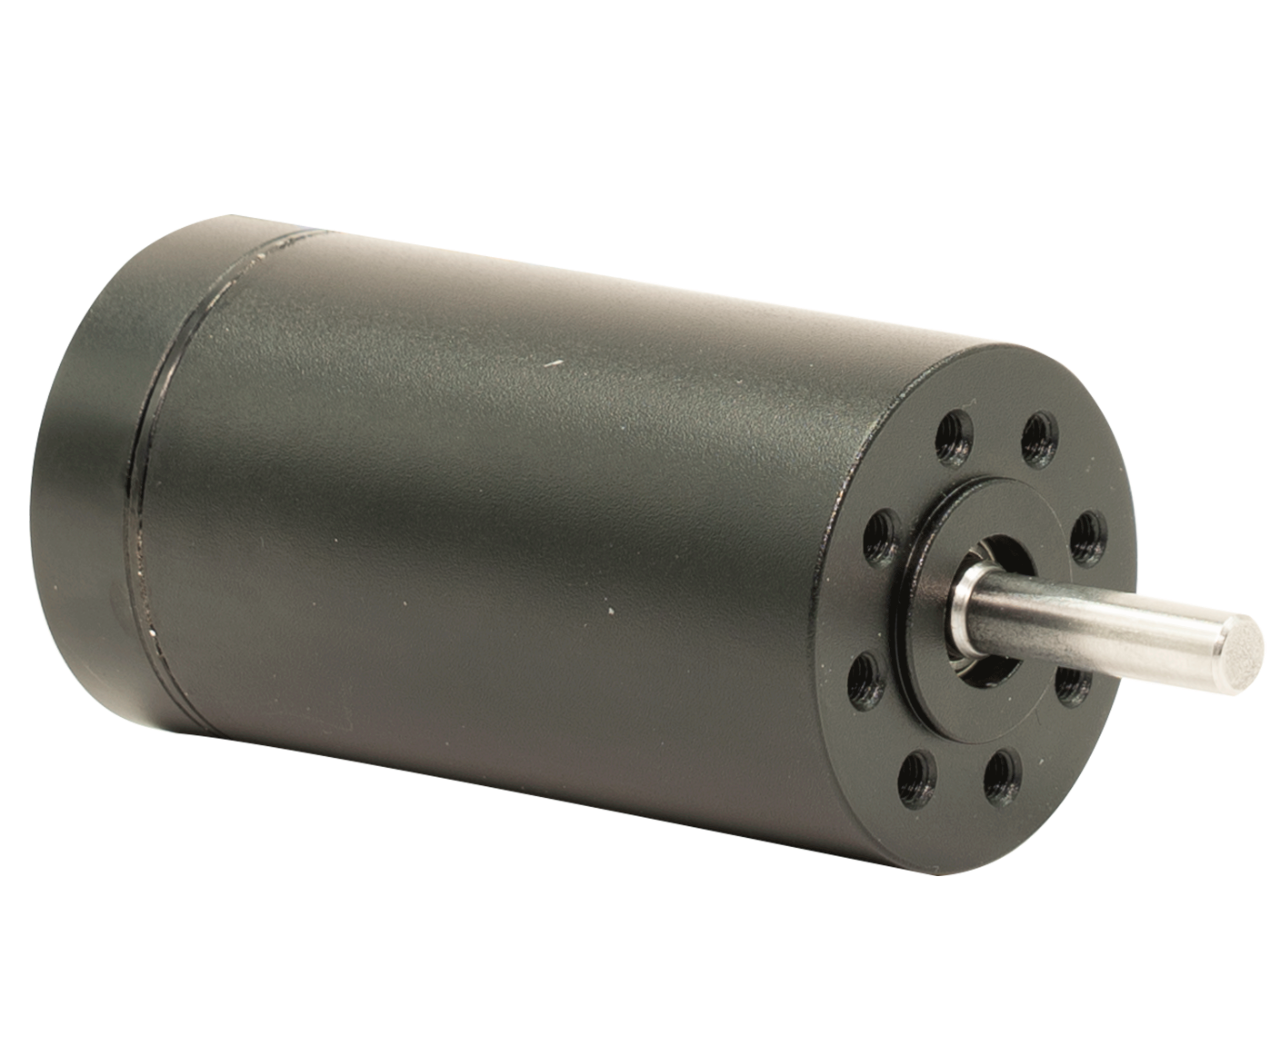

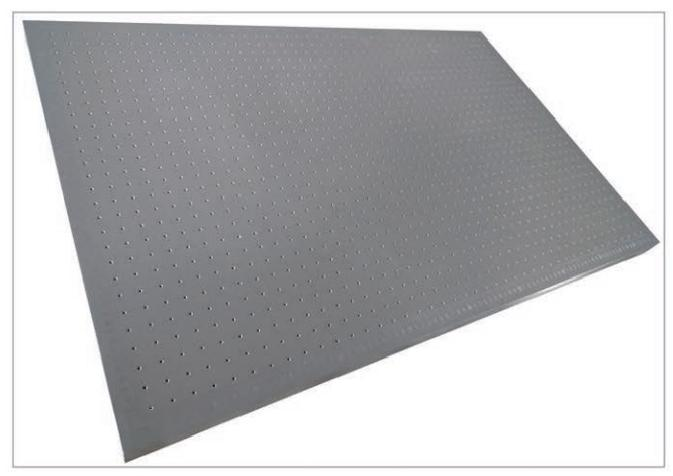






组合刀头带振动刀)-430x573.png)


Reviews
There are no reviews yet.