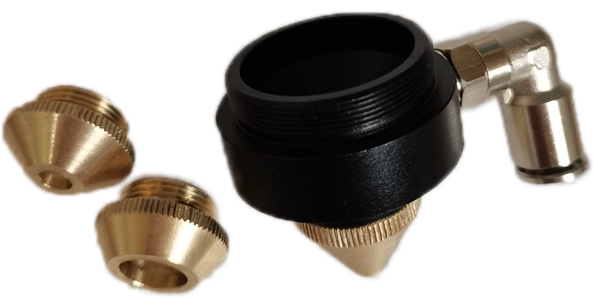
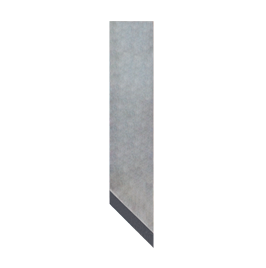
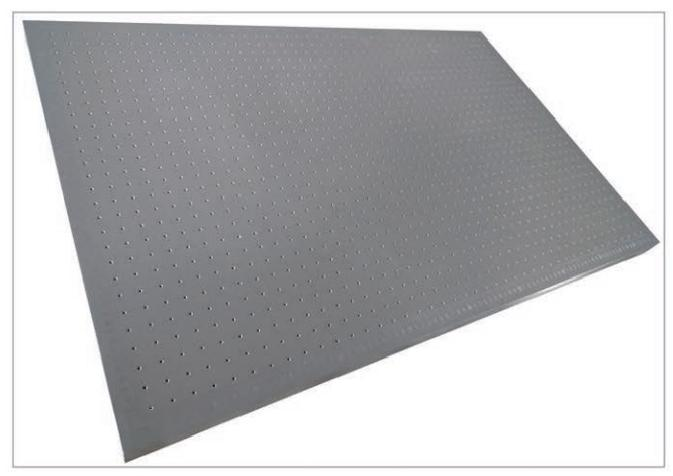
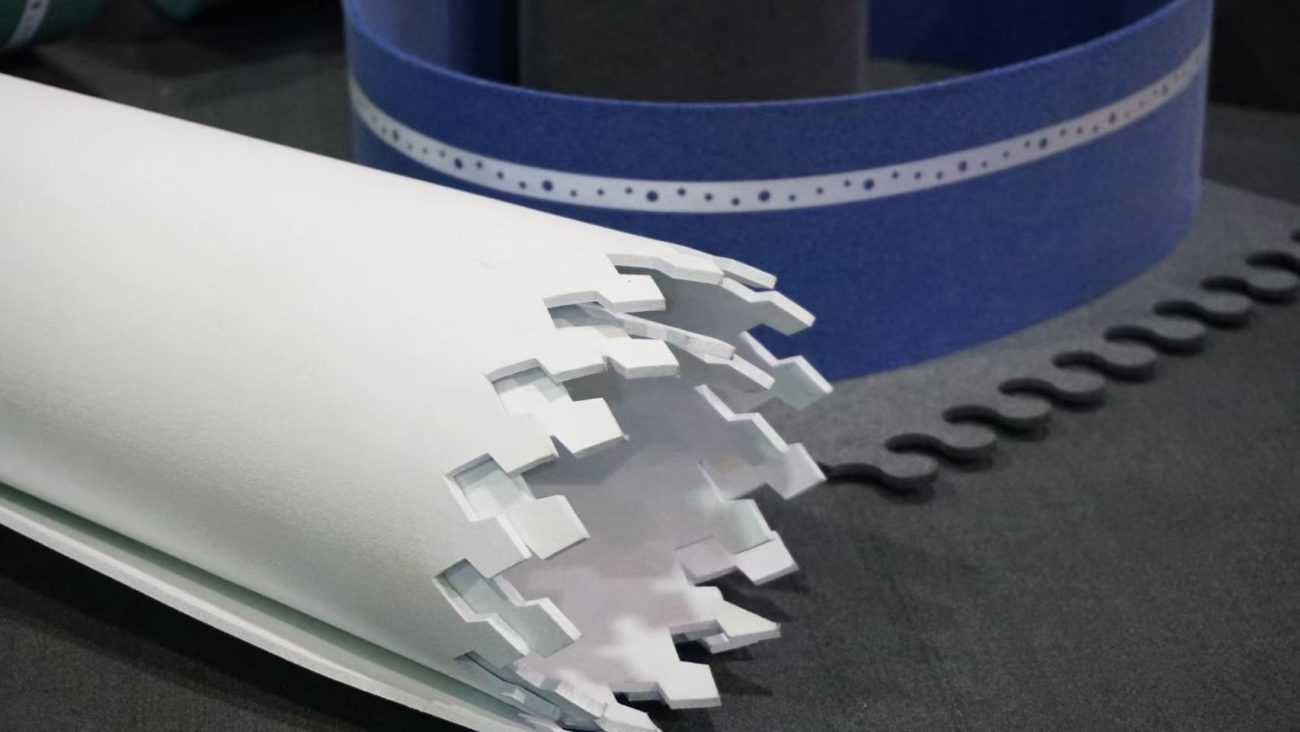
Pneumatic knives can process advertising KT boards, foam boards, ABS plastics, corrugated plastic boards, corrugated paper, cardboard, gray cardboard, wire loop mats, carpets, seals, carbon fiber prepreg, etc.
The basic principle of pneumatic knives is to cut materials by driving the blade to reciprocate at ultra-high speed through compressed gas, which is particularly suitable for cutting and shaping medium-density materials. With different blades, different materials can be processed.
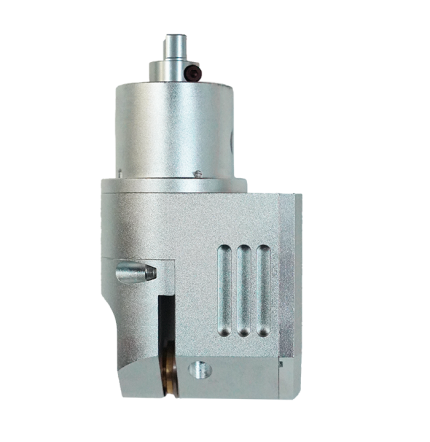
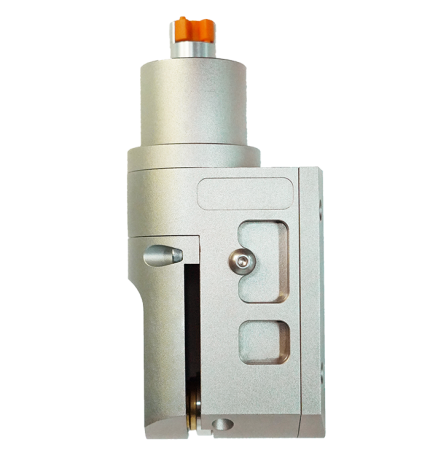
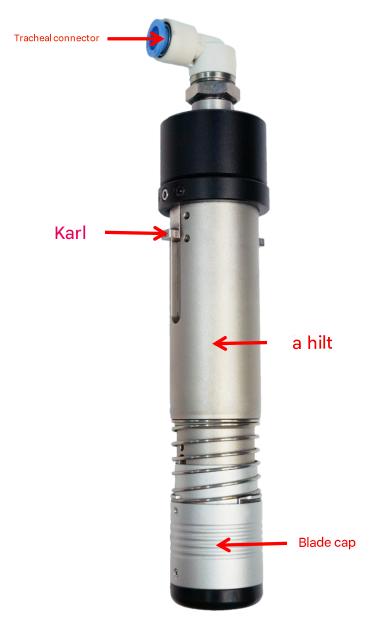
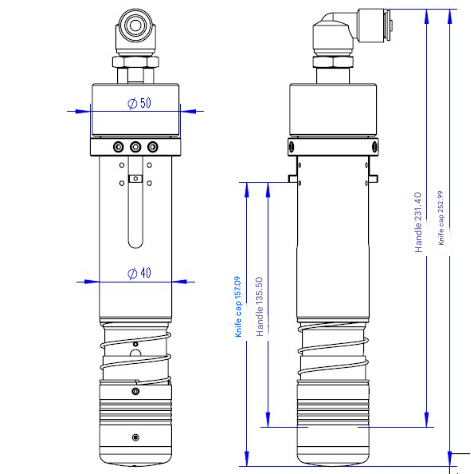
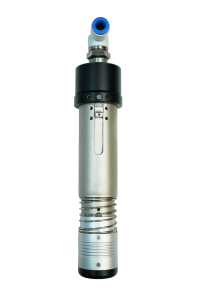
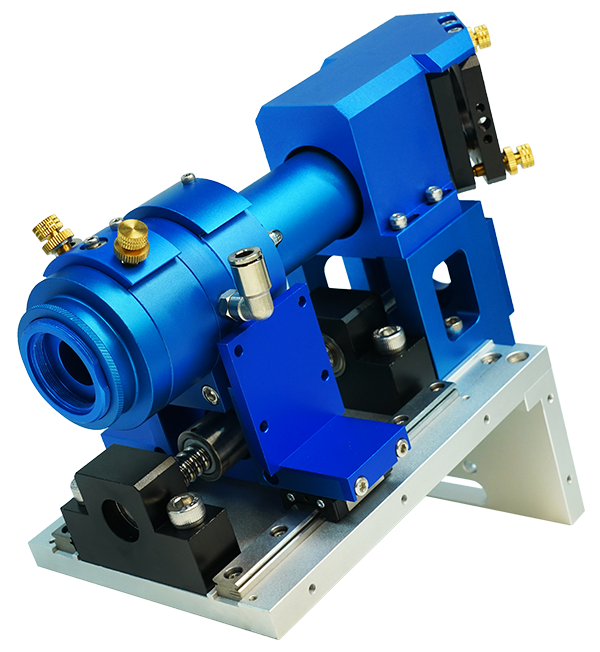
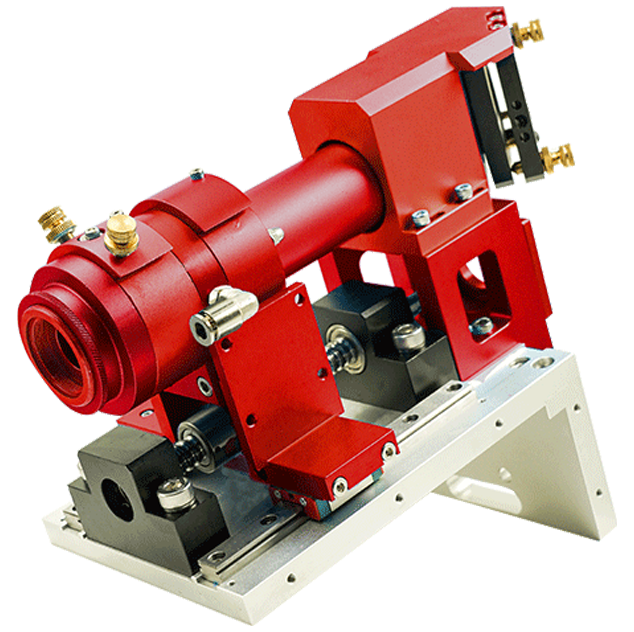
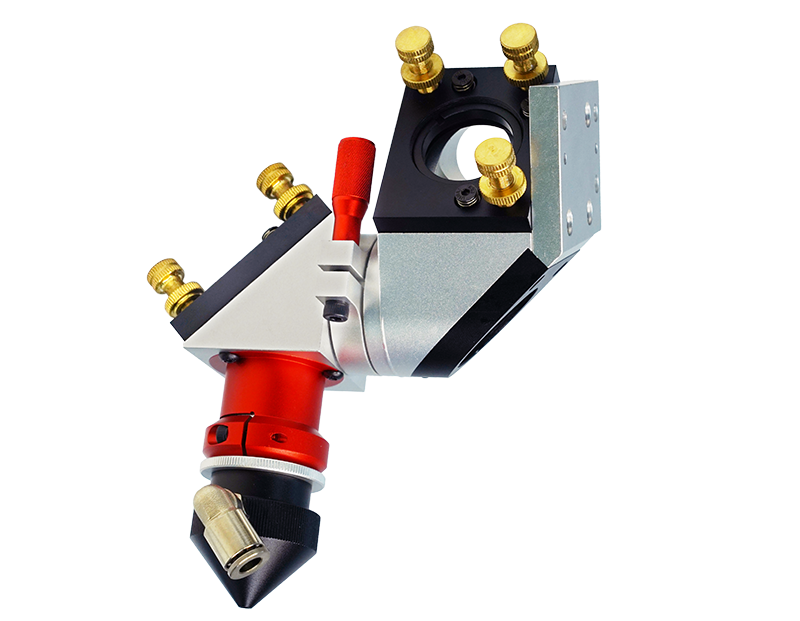
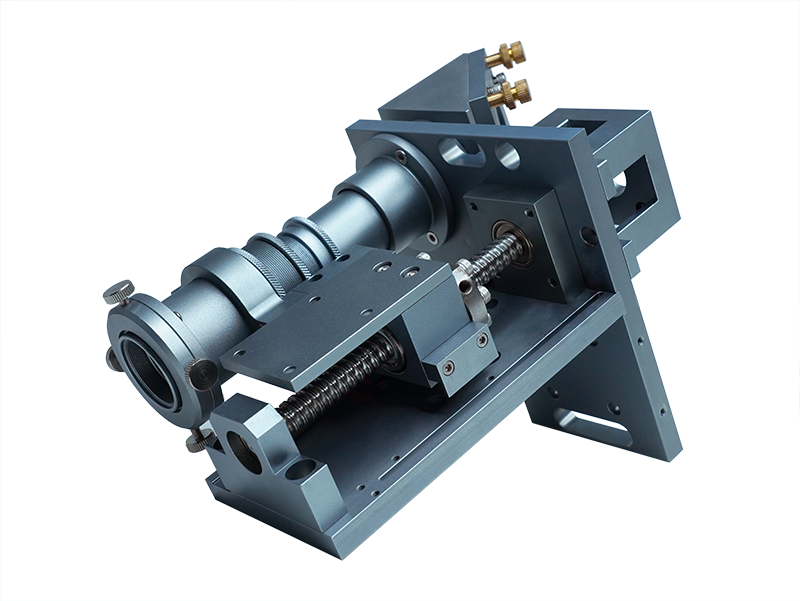
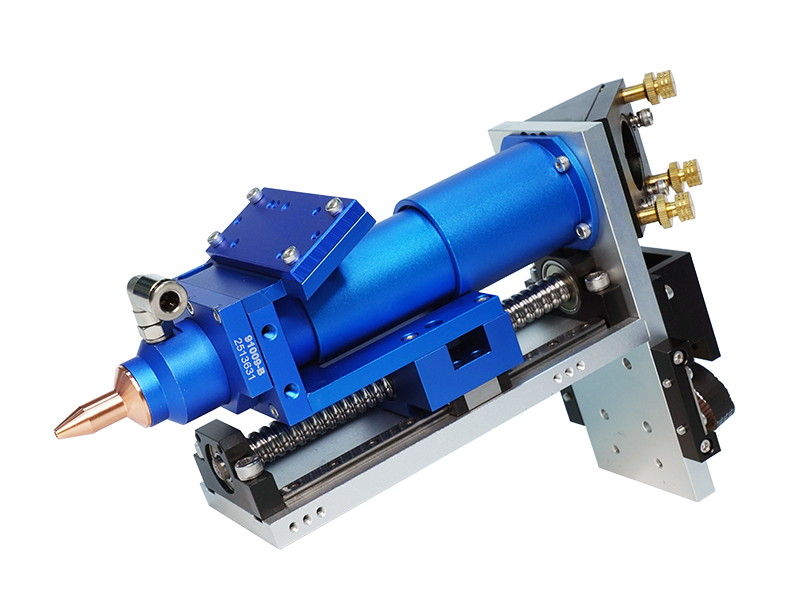
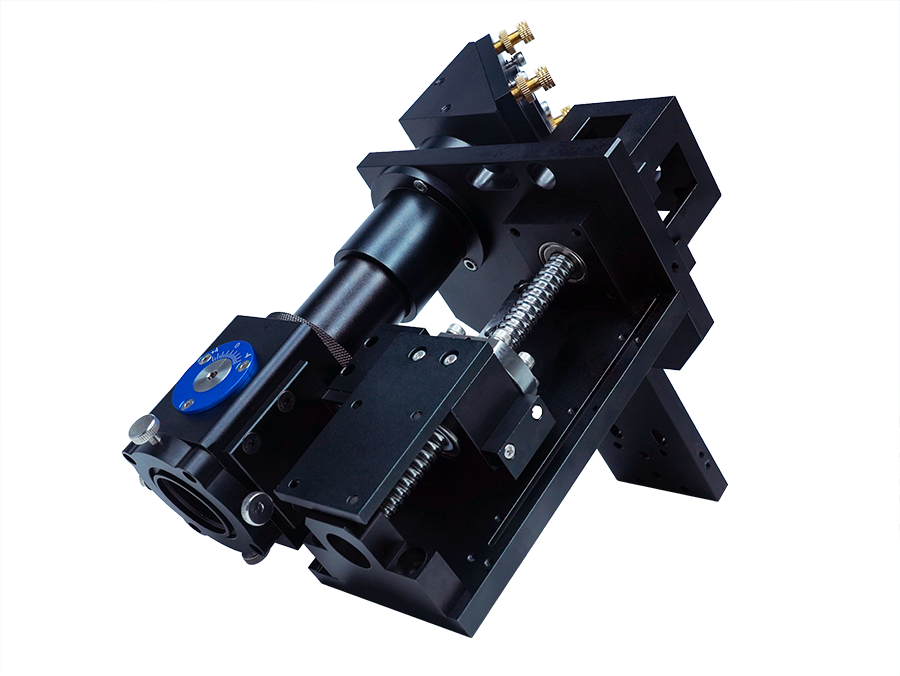
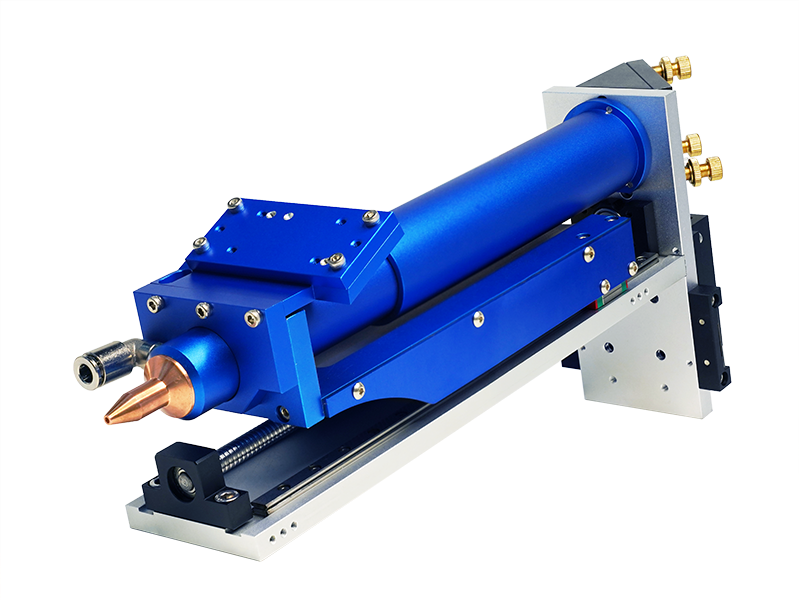
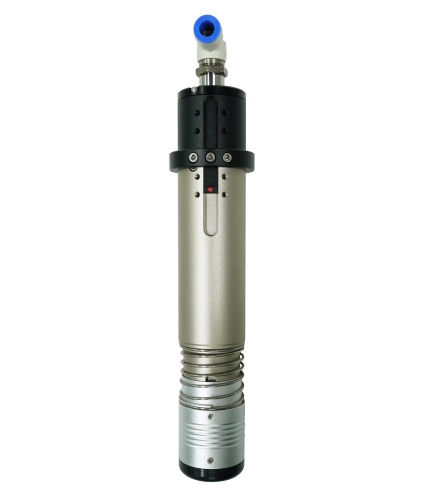
Component Description
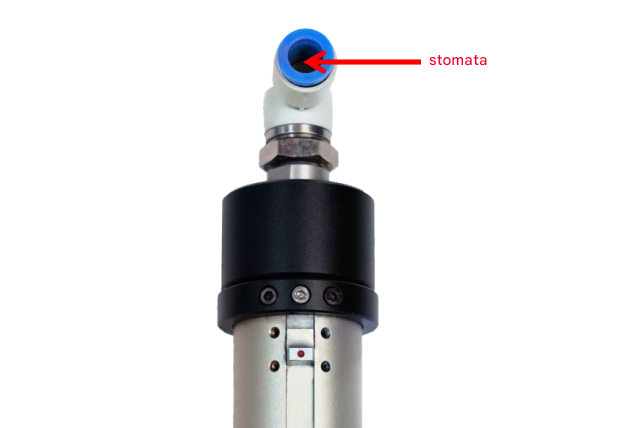
Air pipe connector: air inlet interface
Lock: used to lock the knife handle
Knife handle: pneumatic knife blade
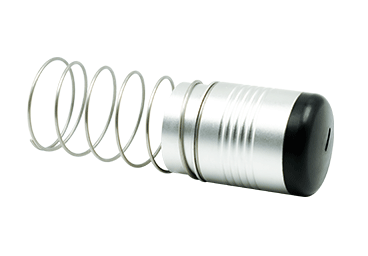
Knife head cap: used to press the material when cutting
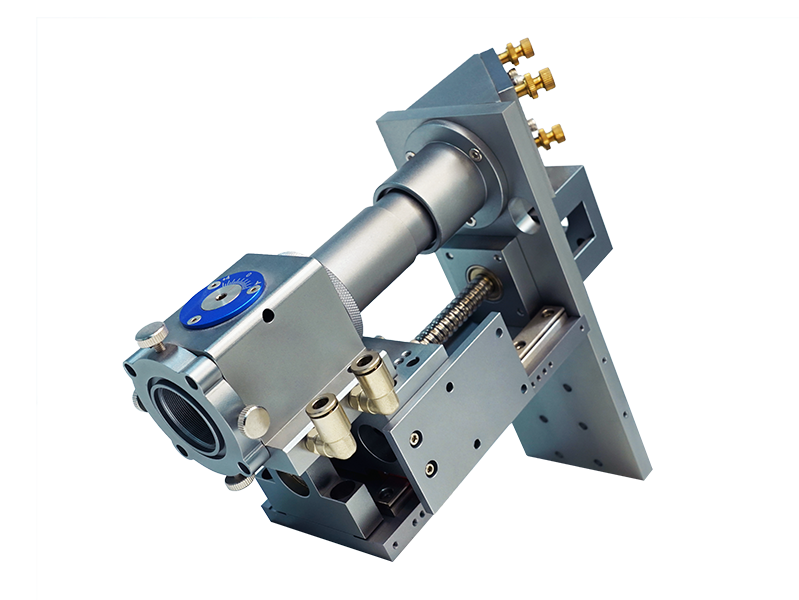
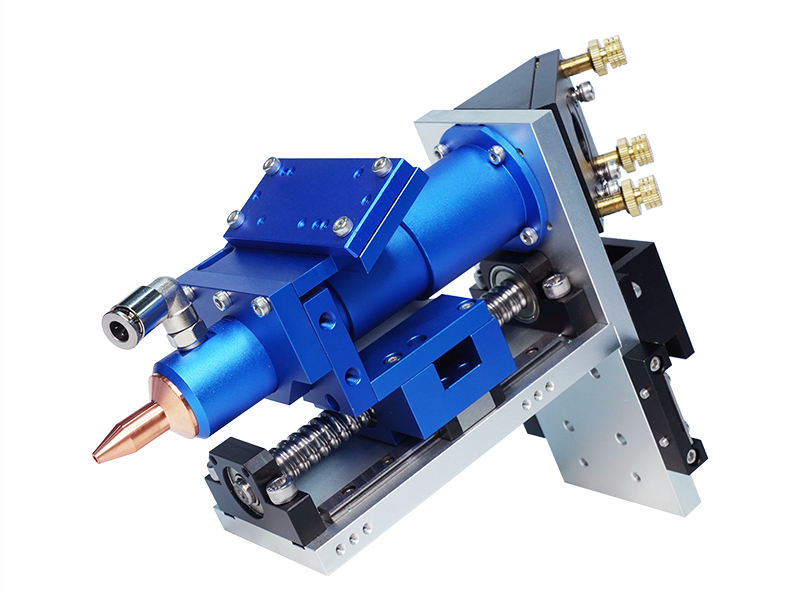
Installation Diagram
Installation Dimensions
Instructions for use and debugging
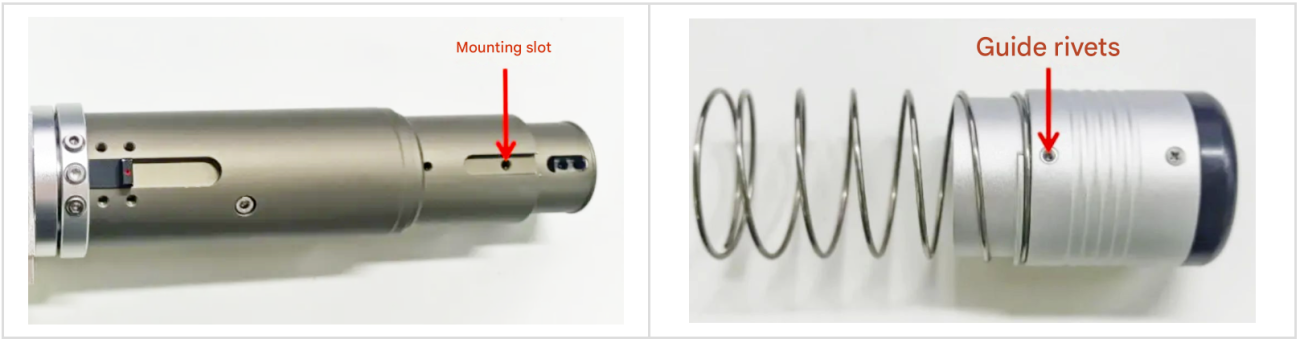
(1)Installation and removal of the blade cap
Align the guide rivet on the blade cap with the installation slot of the vibration knife handle, press the blade cap into the handle with a little force, and the blade cap is installed in place when you hear a click. Check whether the blade cap barrel moves up and down smoothly.
When pulling out the blade cap, keep the blade cap and the handle in a straight line and pay attention to safety.
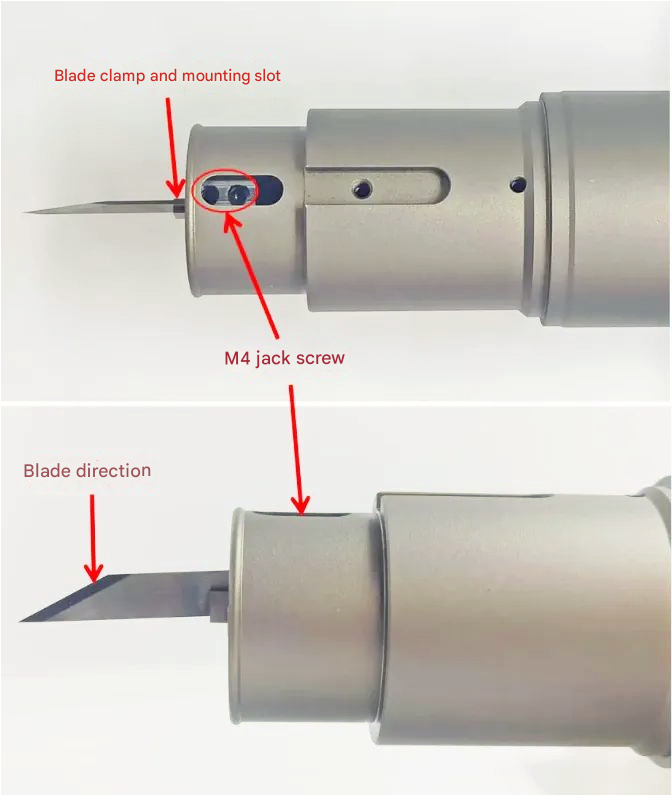
(2)Blade installation
Loosen the M4 screw and insert the blade in the direction shown in the figure; insert the blade until it stops (the insertion part is about 13mm); tighten the M4 screw and turn the shaft at the tail of the motor by hand to ensure that the blade can slide easily.
(3)Blade clamp removal
Method 1: Use a screwdriver to move the blade clamp back and forth until it loosens and can be removed (recommended).
Method 2: First clamp the waste blade with the blade clamp, then clamp the blade clamp with pliers and pull it out.
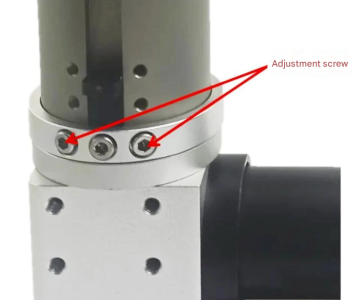
(4) Installation height adjustment
Unscrew the adjustment screws, two on each side, a total of four screws, move them up and down to the appropriate position, and tighten the screws.
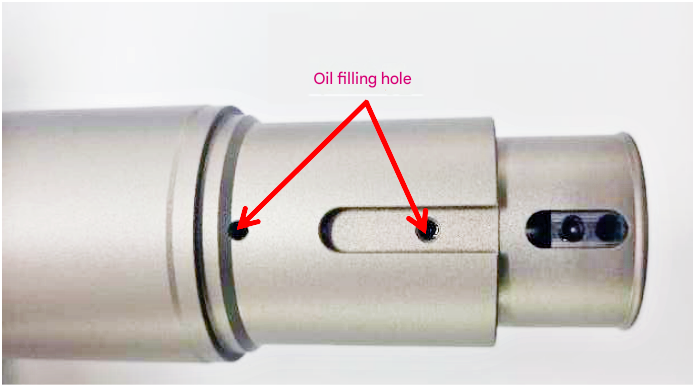
(5) Oiling and maintenance
Unscrew the top screw of the oiling hole and drip clean sewing machine oil or other liquid lubricant.
After the machine is finished working, use an air gun to clean up the small debris stuck to the cutter head to prevent the debris from entering the working area of the cutter head and causing the cutter head to get stuck.
If the cutter head is not used for a long time, oil needs to be added to the oiling hole and the cutter head needs to be left to cut for 5 minutes so that the sliding part of the cutter head can fully produce an oil film to reduce air corrosion.
Before working, drip a few drops of clean air tool lubricating oil into the air hole and allow the lubricating oil to fully lubricate the sliding block.
Precautions
1. Clean and dry compressed gas must be connected. (For example, use a pneumatic triplex to filter, reduce pressure and add oil to the gas to ensure the normal operation of the pneumatic actuator and prevent malfunctions due to impurities, excessive air pressure or lack of oil.)
2. Before supplying air, make sure the air pipe is firmly connected
3. Before supplying air, make sure the blade is locked
4. Before supplying air, make sure the air pressure is below 0.8Mpa
5. Non-professionals are not allowed to disassemble the blade
6. Pay attention to safety when installing the blade and the blade cap
7. Timely oiling and maintenance
8. The working air source must be kept clean and free of dirt and moisture
Product Parameters
Order Model
Perce 91105
Motor speed RPM
0.8 or less
Amplitude mm
7-10
Trachea connector
6/8/10 optional
overall dimensions/mm
W50/H231.4/D50
weight
0.8
Multi-faceted appearance
Shipping Configuration
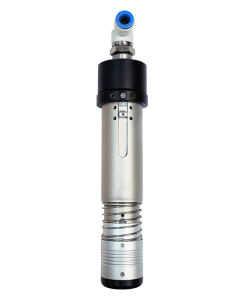
Perce 91105 Pneumatic Knife
Perce 95010 Blade Clip
Perce 95014 Single Edge Blade
Optional accessories
Perce 91105 Pneumatic Knife
Perce 95010 Blade Clip
Perce 95011 Blade Cap
Perce 95014 Single Edge Blades (Various Sizes)
Perce 95015 Double Edge Blades (Various Sizes)
Reviews (0)
Reviews
There are no reviews yet.
Be the first to review “Perce 91105 Pneumatic Tool” Cancel reply


-1.png)
-1.png)


Reviews
There are no reviews yet.