BL laser head uses the heat generated by focusing the laser beam to melt the surrounding materials and achieve cutting.
The lens barrel assembly of the BL laser head can easily replace focusing lenses with different focal lengths. The combination of long and short focal lengths can realize the processing of different materials, such as metal materials such as stainless steel, carbon steel, galvanized sheet; non-metallic materials such as acrylic, density board, and wood board.
Component Description

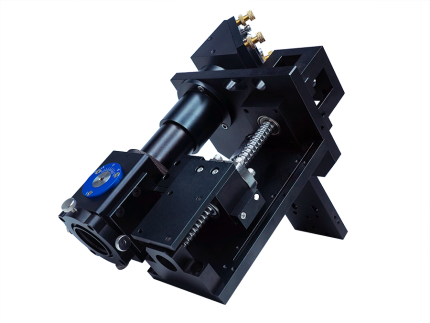
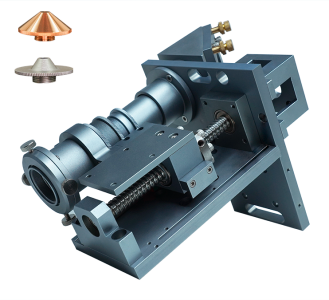
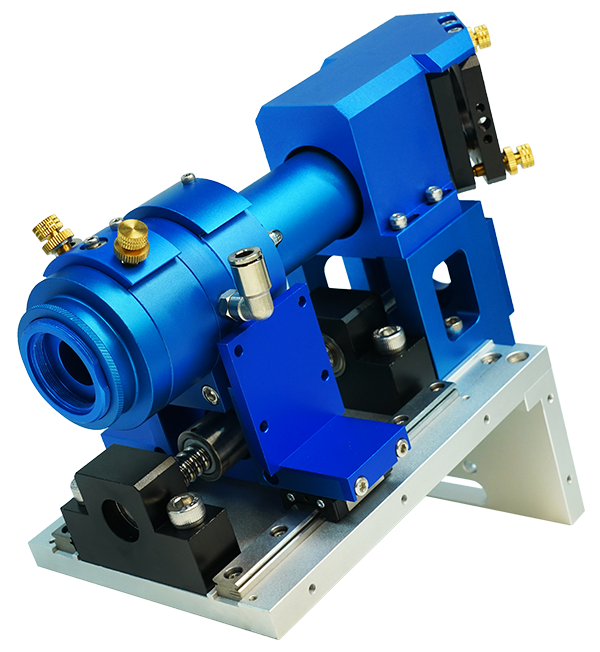
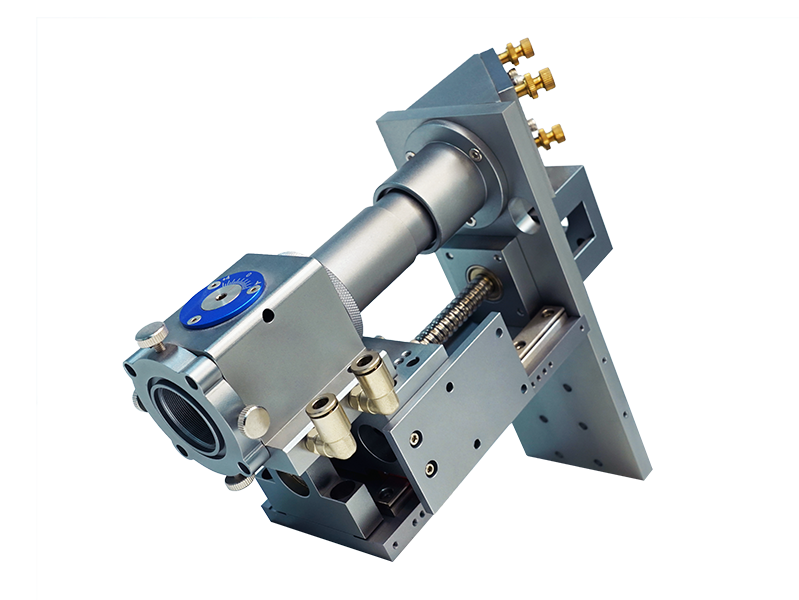
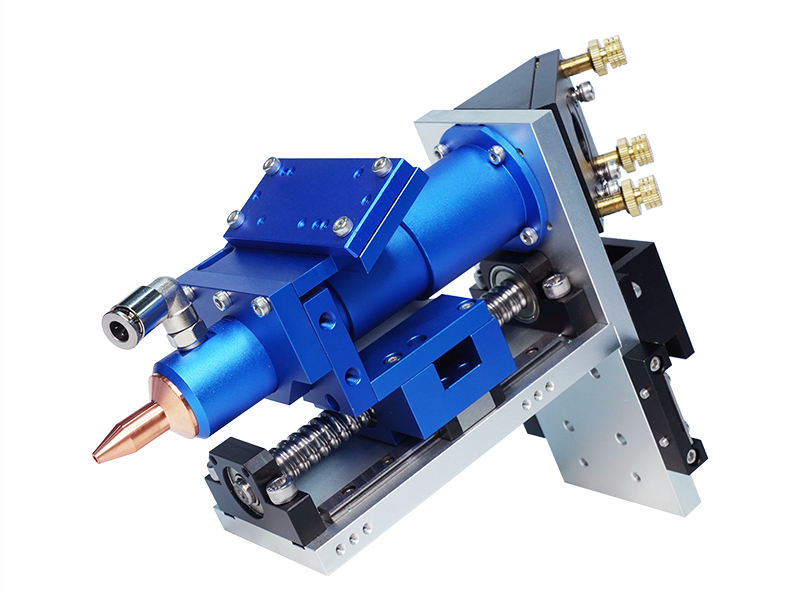
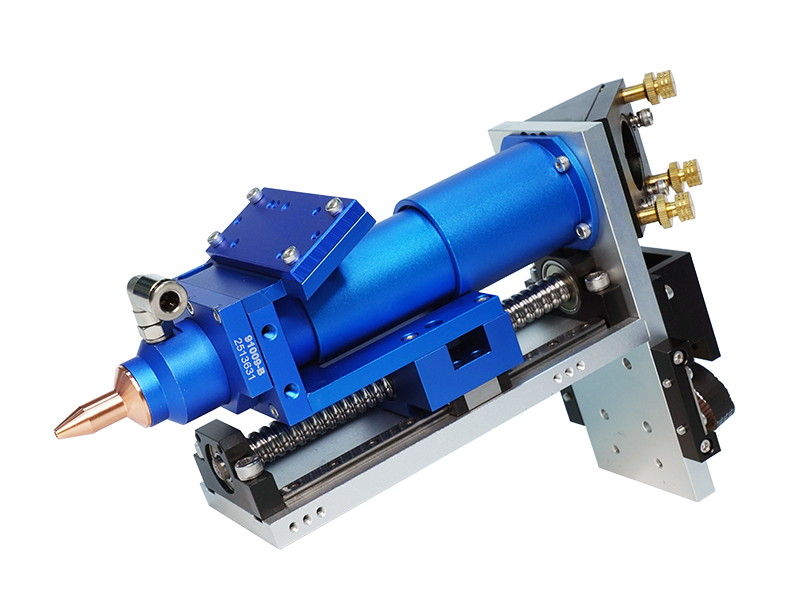
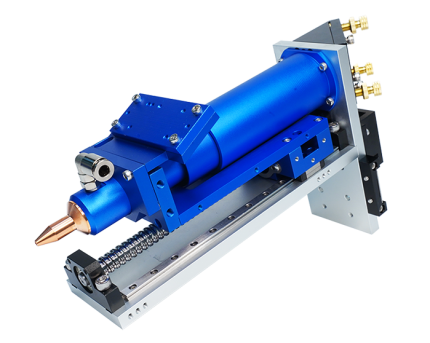
Guide rail mounting plate: fix the body
Belt hole: install belt buckle
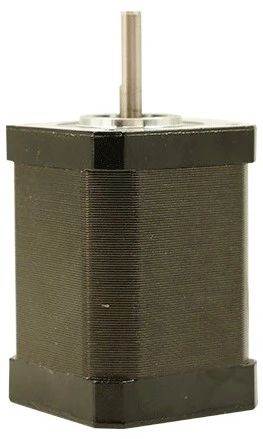
Motor bracket: install motor
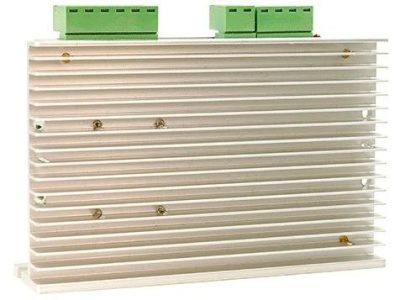
Amplifier board: install amplifier
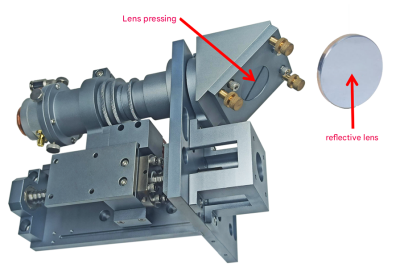
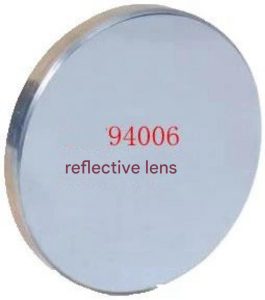
Reflection assembly: install reflector
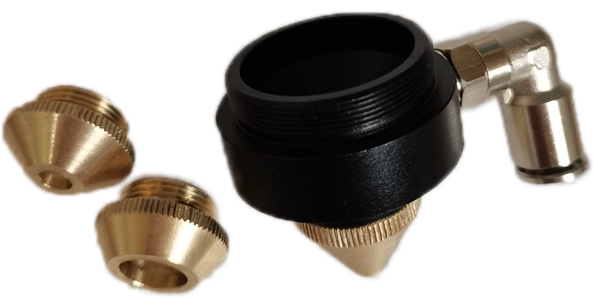
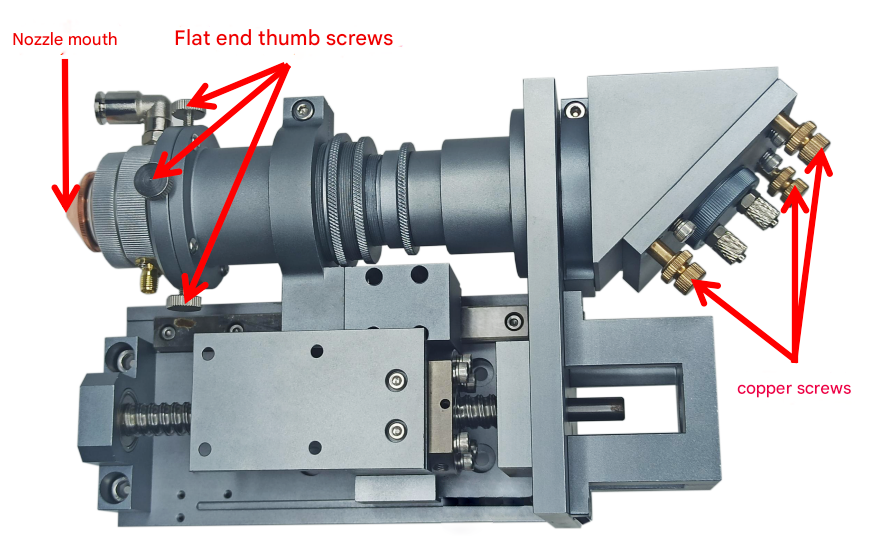
Copper screw: adjust light
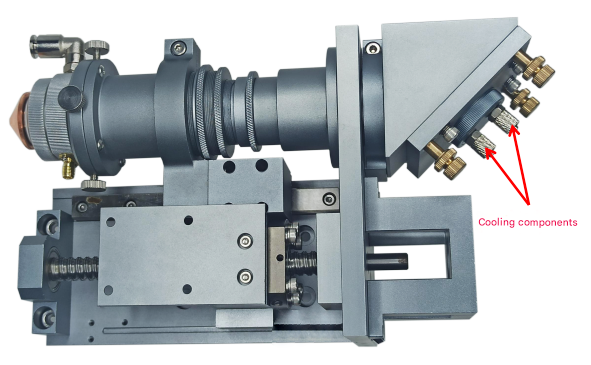
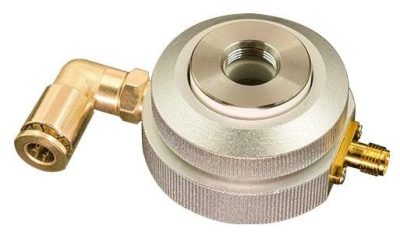
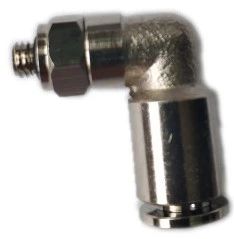
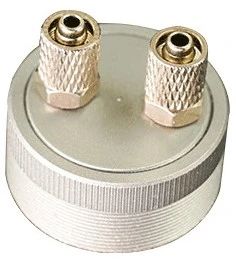
Pipe joint: connect water cooling pipe
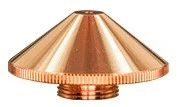
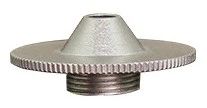
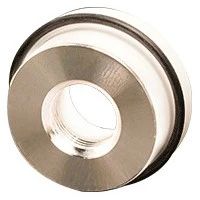
Adjustment ring: adjust nozzle height
Flat-end thumb screw: adjust light
Installation Dimensions

Usage and debugging instructions
Lens installation
(1)Reflective lens installation
Use tools to remove the lens pressing piece of the reflective mirror frame, put the reflective lens into the lens hole (mirror surface facing inward, back surface facing outward), press it flat, and lock the lens pressing piece after ensuring it is flush.

Rotate and remove the outer lens barrel and inner lens barrel in turn (the inner lens barrel assembly of the BL hybrid cutting head can easily replace focusing lenses with different focal lengths, supporting 63.5/101.6mm focal lengths).
(2) Focusing lens installation
Rotate and remove the outer lens barrel and inner lens barrel in turn (the inner lens barrel assembly of the BL hybrid cutting head can easily replace focusing lenses with different focal lengths, supporting 63.5/101.6mm focal lengths).

Use a tool to rotate and remove the lens pressing ring at one end of the inner lens barrel, adjust the O-ring in the inner lens barrel, put the focusing lens flat into the lens barrel and press it against the O-ring, rotate the lens pressing ring in, and press the focusing lens tightly.

(3)Adjust the light
Adjust the reflector: slightly rotate the three copper screws on the reflector frame. Adjust the focusing mirror: slightly rotate the four flat-end hand screws. Adjust the reflector first, then adjust the focusing mirror. If the light beam passes through the nozzle correctly, the light adjustment is correct.

(3)Cooling function
Laser equipment will continuously generate high temperatures when working. The cooling component can be connected to a cooling pipe (the connecting medium can be water or gas) for circulating cooling and temperature control to protect the machine.

(4)Maintenance
(1) Regularly maintain the Z-axis transmission system to ensure cleanliness and lubrication
(2) Regularly check the lens in the laser head to ensure it is clean
(3) Regularly check the nozzle and replace it if it is damaged
Precautions
- Non-professionals are not allowed to disassemble.
- You need to install the upper and lower limit switches of the Z axis by yourself. After installation, make sure that the upper and lower limit switches of the Z axis work normally and effectively before turning on the machine.
- After the laser equipment is turned on, it will produce invisible light, which requires professional operation, so please pay attention to safety.
- It is required to connect clean and dry compressed gas. (For example, use a pneumatic triplex to filter, reduce pressure and refuel the gas to ensure the normal operation of the pneumatic actuator and prevent malfunctions due to impurities, excessive air pressure or lack of oil.)
Order Model
Product Parameters
Order Model | Perce91007-A |
Reflector diameter/mm | 25/30 |
Focusing lens diameter/mm | 25 |
Supported focal length/mm | 63.5/101.6 |
Stroke/mm | 72 |
Overall dimensions/mm | W141*H245.5*D149 |
Weight kg | 2.3 |

Perce 91007-A
*Sensors and water cooling components must be purchased separately
Product accessories

94001 Sensor

94002 Ceramic Ring

94003 Copper Mouth

94004 aluminum nozzle

94005 Focusing lens

94006 Reflective lens

Four Three Drive

94008 Driver

94012 coupling

94011 Quick Connector

94027 belt buckle

94009-A Water Cooling Assembly
Reviews
There are no reviews yet.