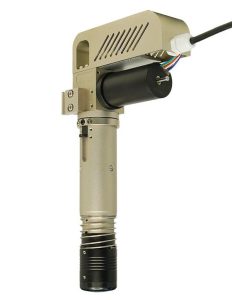
Overview
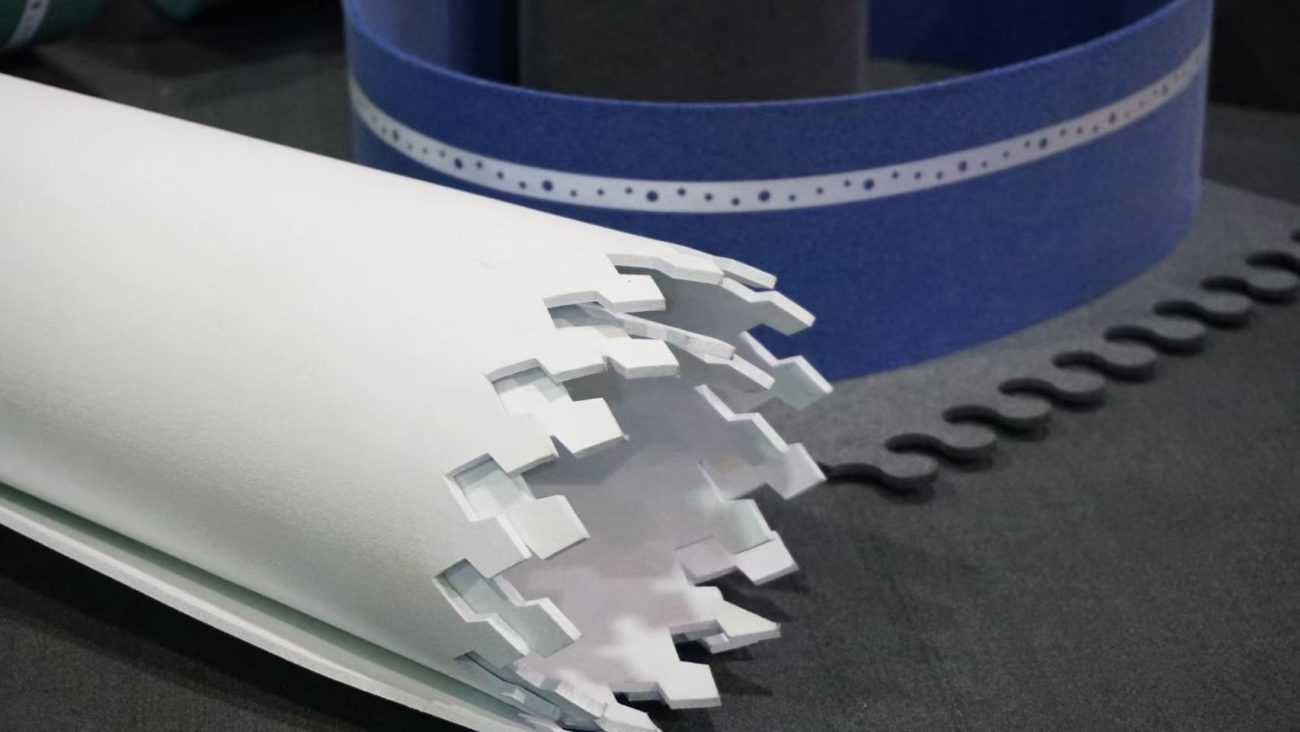
Knife path vibrating knife 91193 can process advertising KT boards, foam boards, ABS plastics, corrugated plastic boards, corrugated paper, cardboard, gray cardboard, wire coil mats, carpets, sealing rings, carbon fiber prepregs, etc.
The basic principle of the vibrating knife is to use the motor to drive the blade to reciprocate at high speed to cut the material. It is especially suitable for cutting and shaping medium-density materials. Different blades can be matched to achieve the processing of different materials.
Component Description
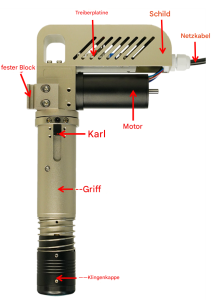
Power cord: Provides power
Motor: Power element
Fixed block: Connects to the knife holder support rod
Card: Used to lock the knife handle
Knife handle: Vibrating knife blade
Knife head cap: Used to press the material when cutting
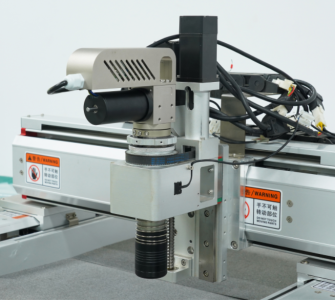
Installation Diagram
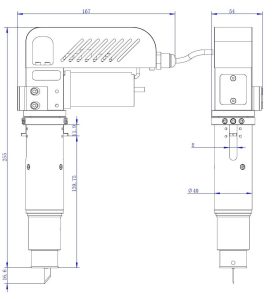
Installation Dimensions
Instructions for use and debugging
(1)Installation and removal of the blade cap
Align the guide rivet on the blade cap with the installation slot of the vibration knife handle, press the blade cap into the handle with a little force, and the blade cap is installed in place when you hear a click. Check whether the blade cap barrel moves up and down smoothly.
When pulling out the blade cap, keep the blade cap and the handle in a straight line and pay attention to safety.

(2)Blade installation
Loosen the M4 screw and insert the blade in the direction shown in the figure; insert the blade until it stops (the insertion part is about 13mm); tighten the M4 screw and turn the shaft at the tail of the motor by hand to ensure that the blade can slide easily.

(3)Blade clamp removal
Method 1: Use a screwdriver to move the blade clamp back and forth until it loosens and can be removed (recommended).
Method 2: First clamp the waste blade with the blade clamp, then clamp the blade clamp with pliers and pull it out.
(4) Installation height adjustment
Unscrew the adjustment screws, two on each side, a total of four screws, move them up and down to the appropriate position, and tighten the screws.
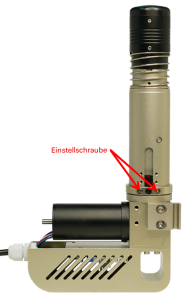
(5) Frequency adjustment
The adjustment holes of different versions are located in different positions. Insert a small cross screwdriver into the adjustment hole and turn it clockwise or counterclockwise to adjust the vibration frequency. (Note: The adjustment knob is a precision electronic component and should not be adjusted too much).

(6) Oiling and maintenance
Unscrew the top screw of the oiling hole and drip clean sewing machine oil or other liquid lubricant.
After the machine is finished working, use an air gun to clean up the small debris stuck to the cutter head to prevent the debris from entering the working area of the cutter head and causing the cutter head to get stuck.
If the cutter head is not used for a long time, oil needs to be added to the oiling hole and the cutter head needs to be left to cut for 5 minutes so that the sliding part of the cutter head can fully produce an oil film to reduce air corrosion.
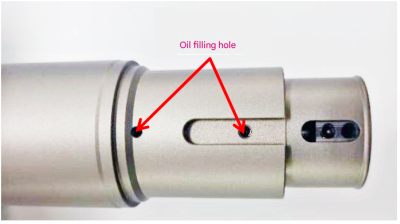
Wiring Instructions
(1)Wiring 1
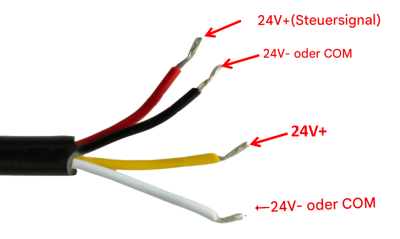
| Red | DC24V+(control Signal line) |
| Black | DC24V- or COM |
| Yellow | DC24V+ |
| White | DC24V- or COM |
(2)Wiring 2
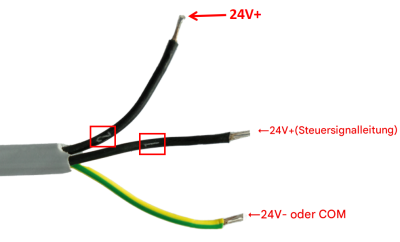
| Black(No.2) | DC24V+ |
| Black(No.1) | DC24V+(control Signal line) |
| Yellow Green | DC24V- or COM |
(3)Wiring 3
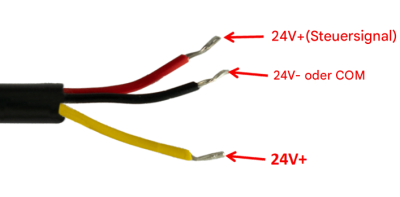
| Red | DC24V+(control Signal line) |
| Yellow | DC24V- or COM |
| Black | DC24V+ |
(4)Wiring 4
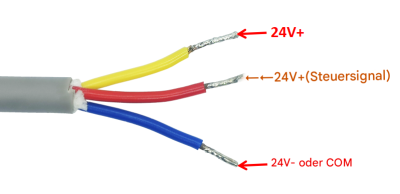
| Yellow | DC24V+ |
| Red | DC24V+(control Signal line) |
| Blue | DC24V- or COM |
Precautions
1. Configure a separate switching power supply, it is recommended to configure 24V10A or above
2. Before powering on, confirm that the wiring is correct
3. Do not use excessive force when adjusting the frequency
4. Non-professionals are not allowed to disassemble the blade
5. When installing the blade and the blade cap, pay attention
Product Parameters
| Order Model | Perce 91193 |
| Motor speed RPM | 0-18000 |
| Amplitude mm | 1 |
| Motor power/W | 100W |
| overall dimensions/mm | W167/H255/D54 |
| weight | 1.2 |
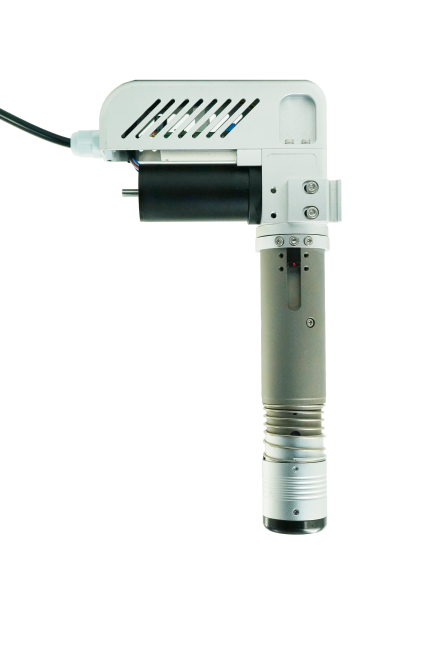
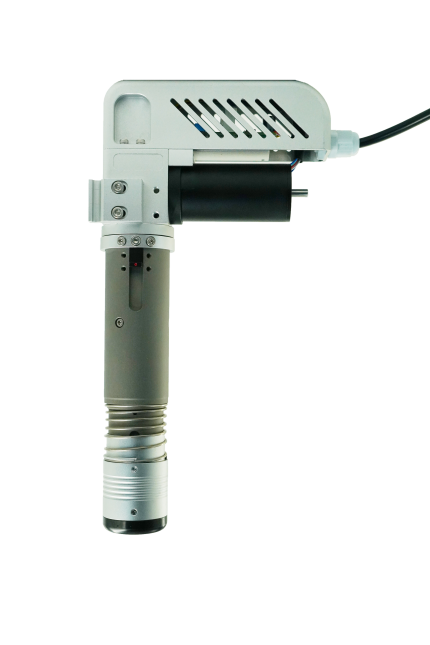
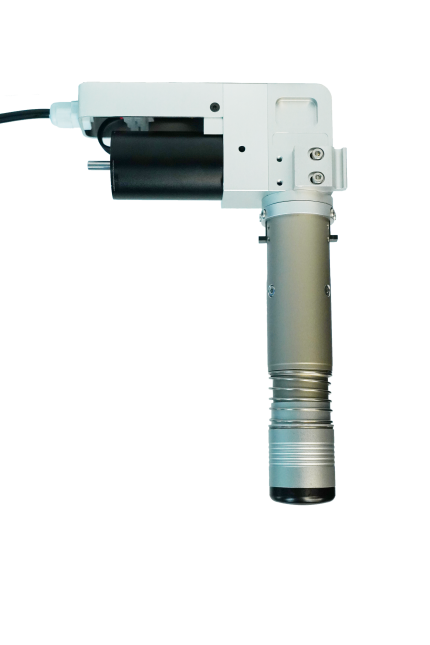
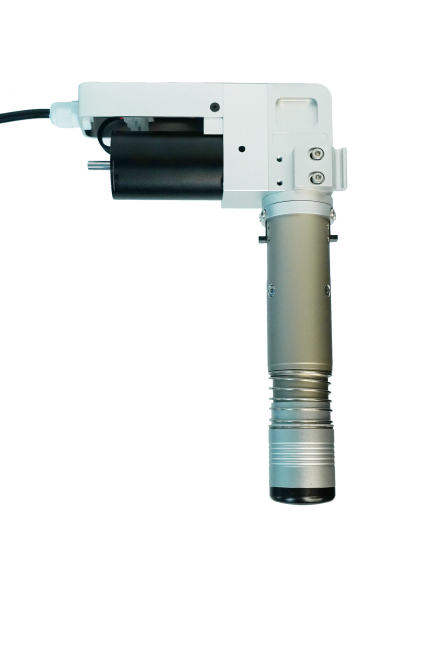
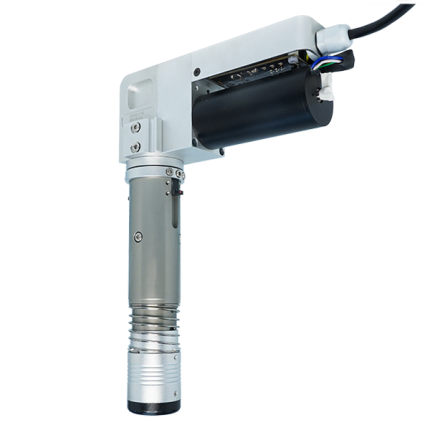
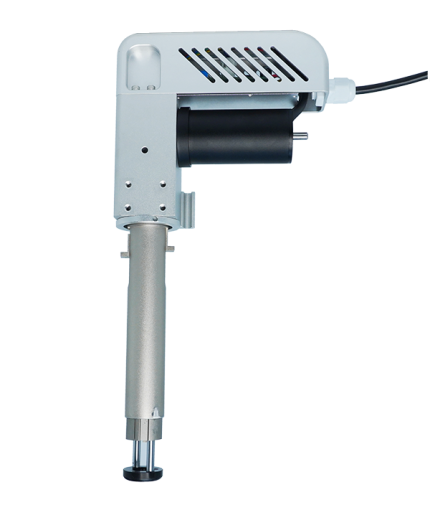
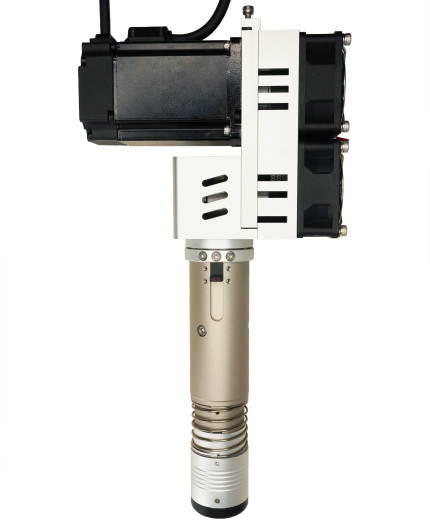
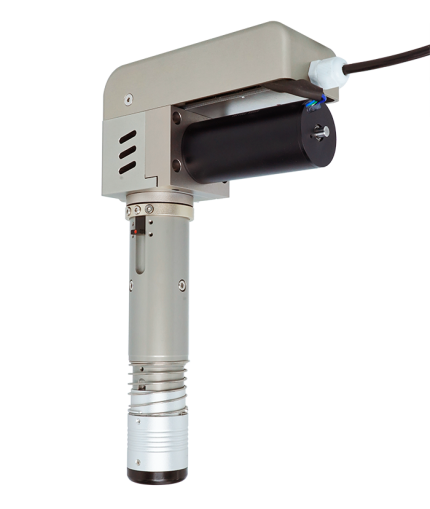
Multi-faceted appearance
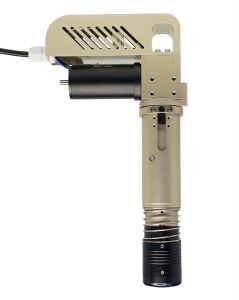
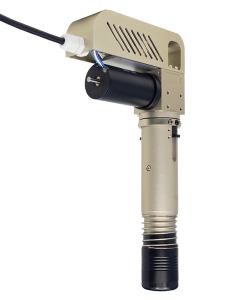
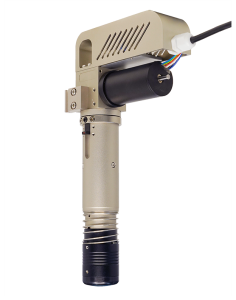
Shipping Configuration
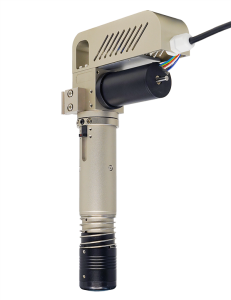
Perce 91193 Knife Path Oscillating Knife
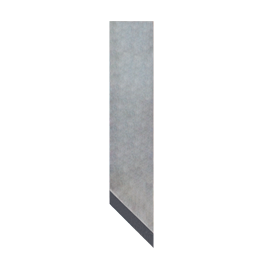
Perce 95014 Single Edge Blade
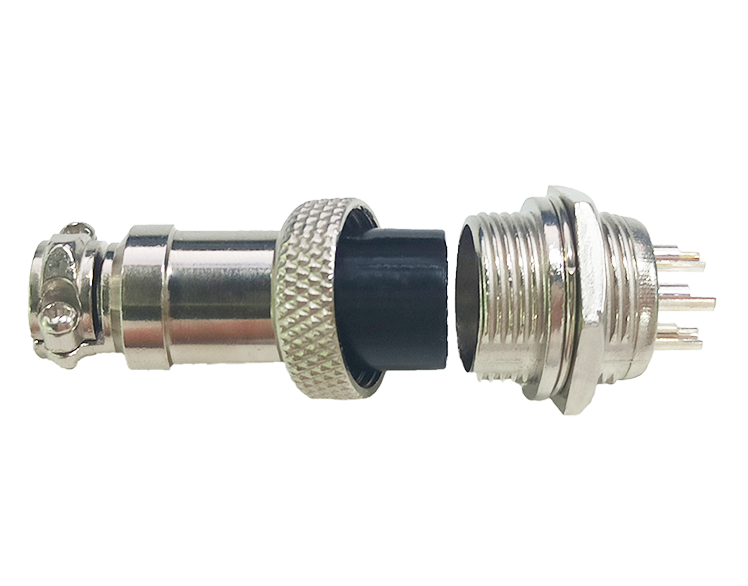
Perce 95136 Aviation Plug
Optional accessories
.png)
Perce 95010 Blade Clip (0.63/1/1.5/2mm)
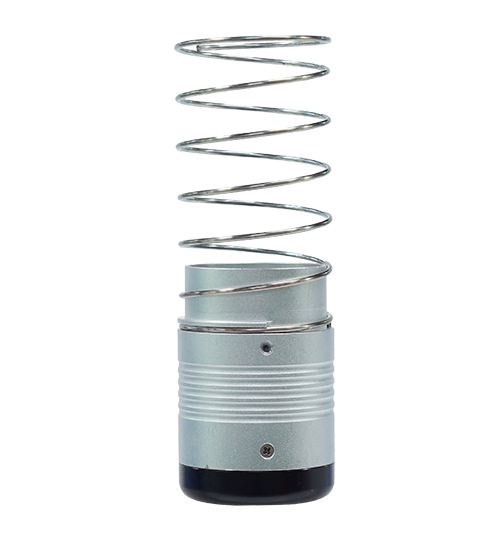
Perce 95011 Blade Cap
.png)
Perce 95014 Single Edge Blades (Various Sizes)
.png)
Perce 95015 Double Edge Blades (Various Sizes)
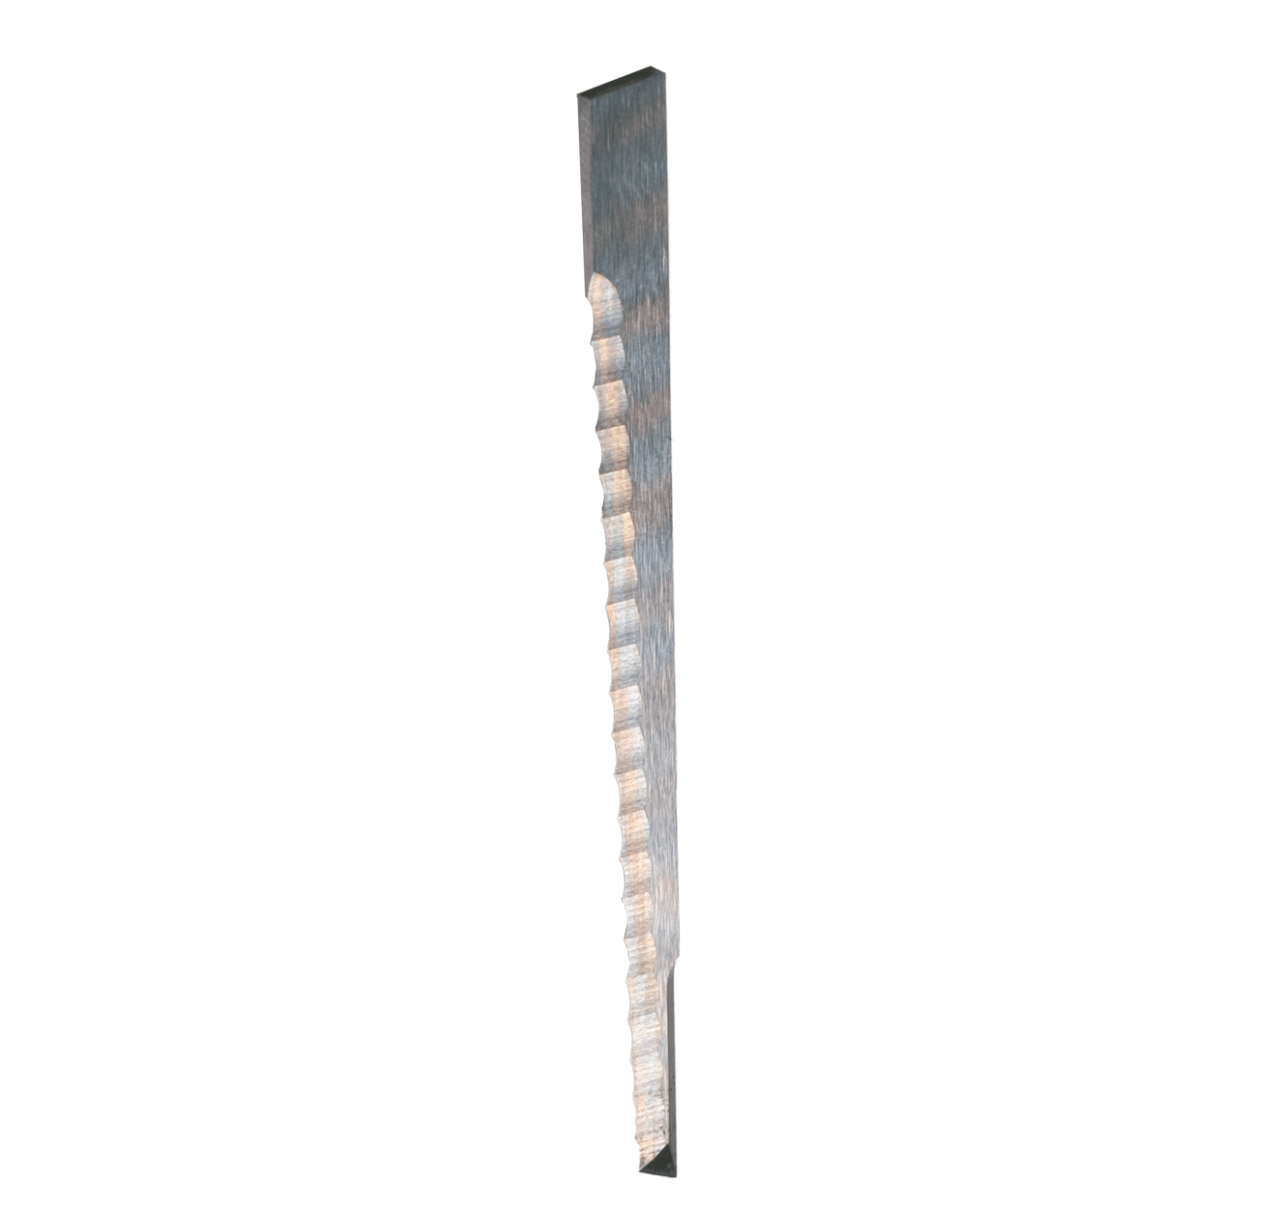
Perce 95034 Serrated Blade
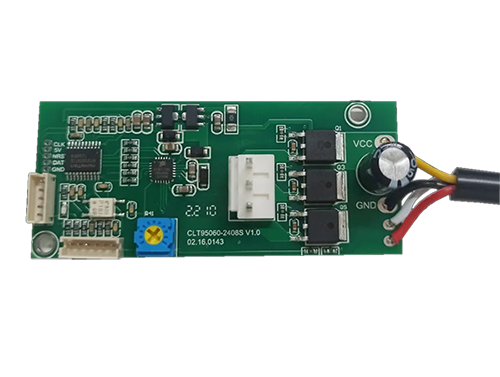
Perce 95060 Zero Four Driver Board
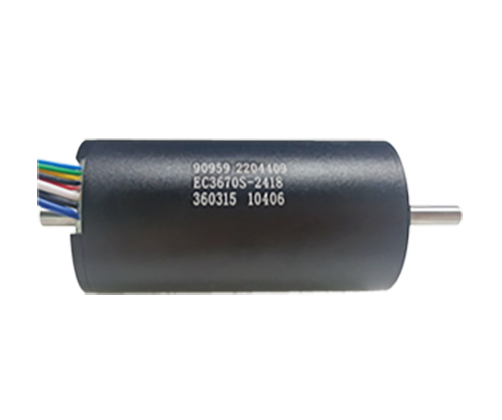
Perce 95064 Sanliu Motor
.png)
Perce 95136 aviation plug (2/3/4/5 core)
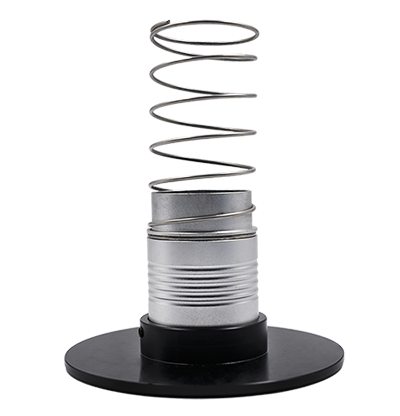
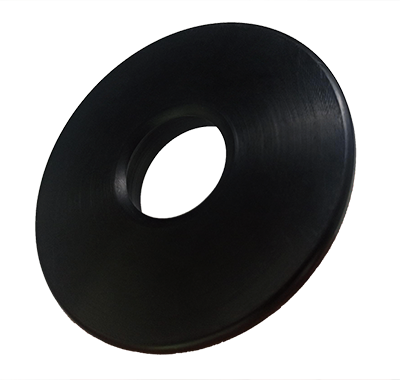
Perce 95168 Blade Cap Plate








Reviews
There are no reviews yet.