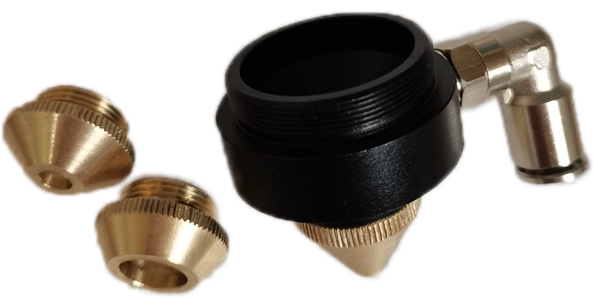
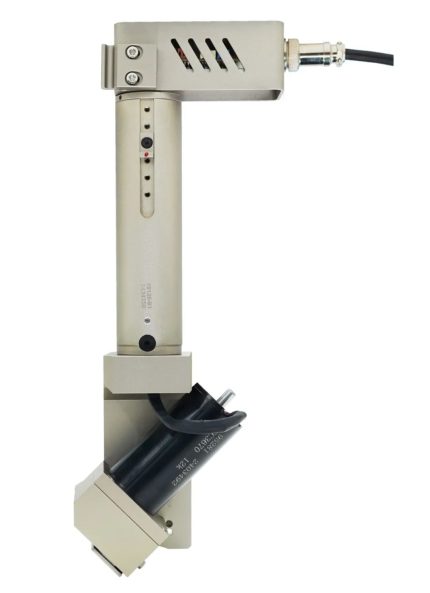
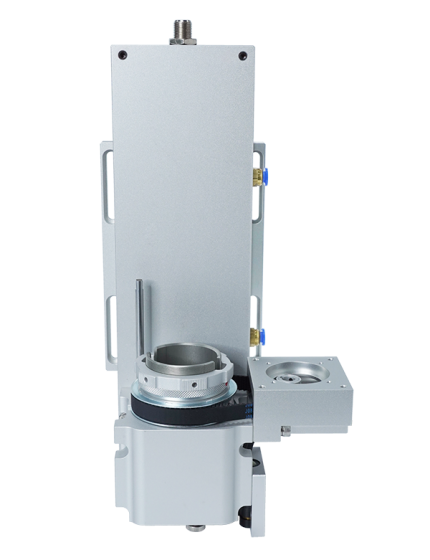
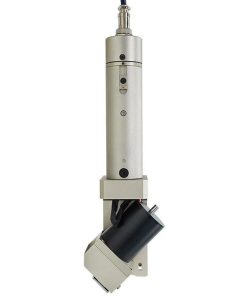
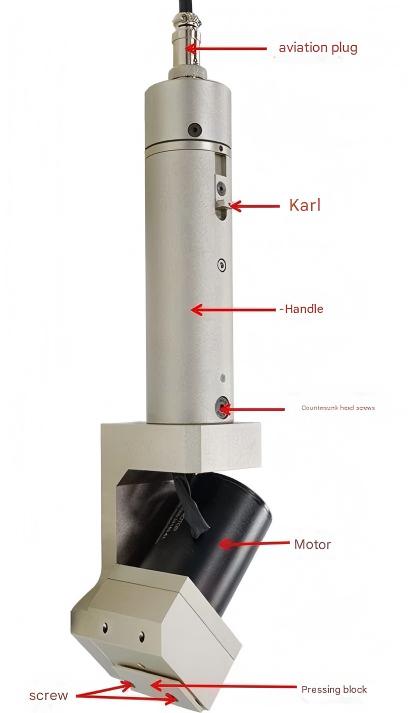
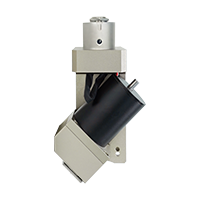
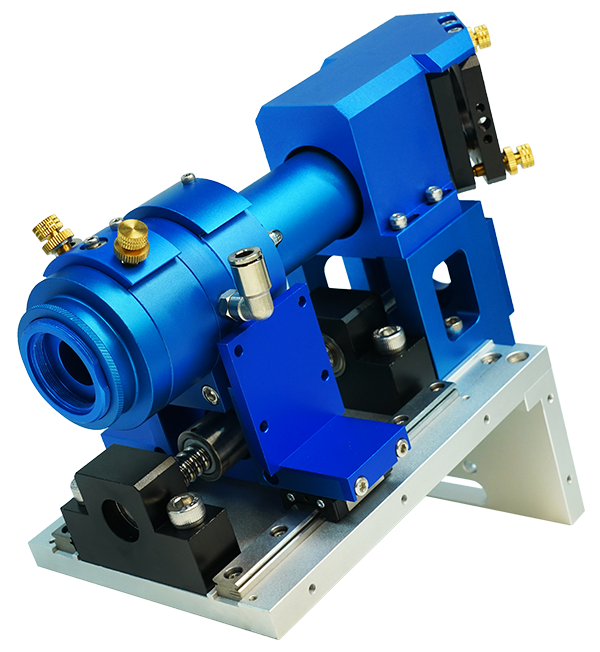
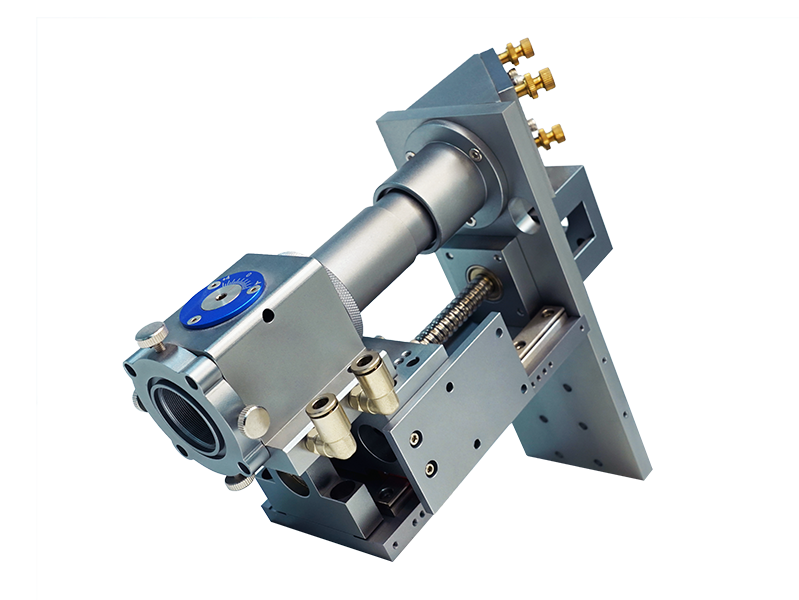
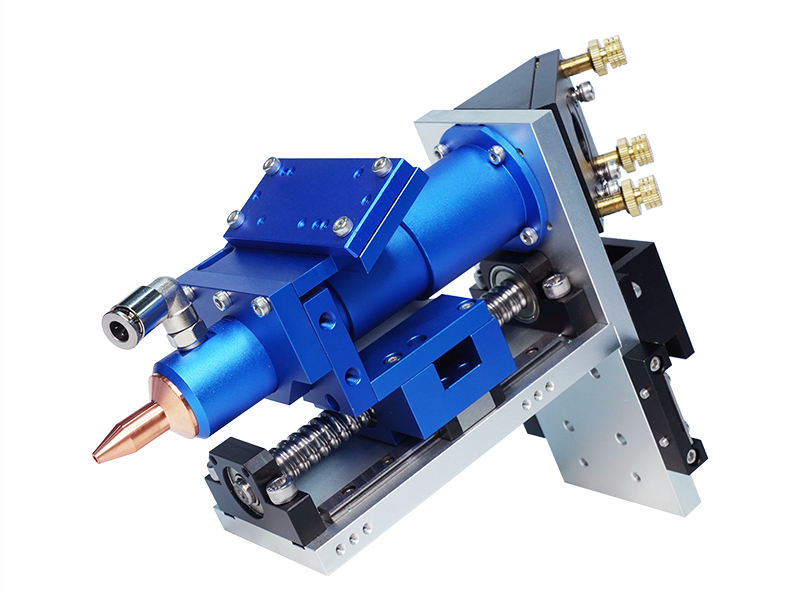
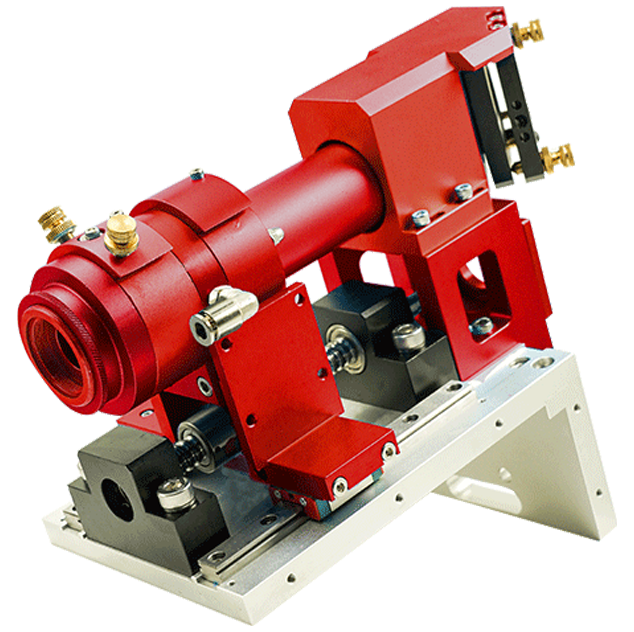
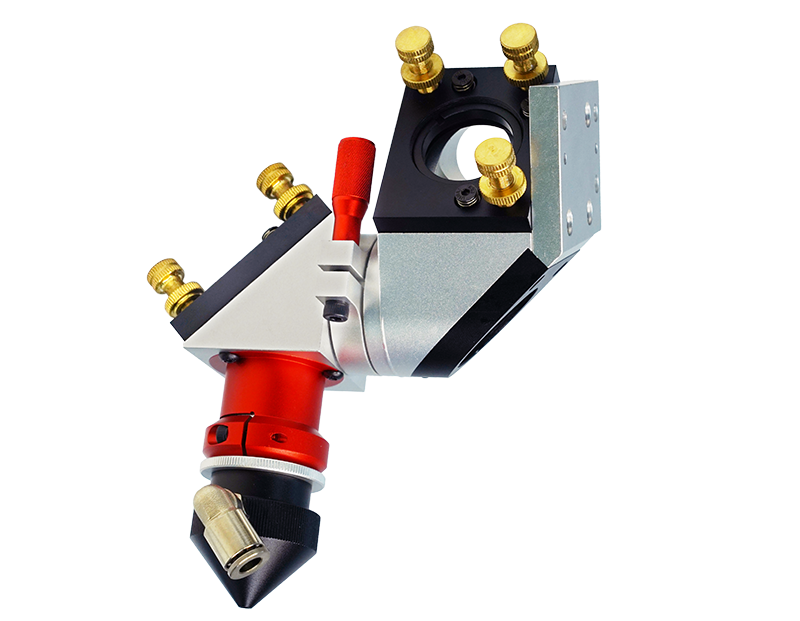
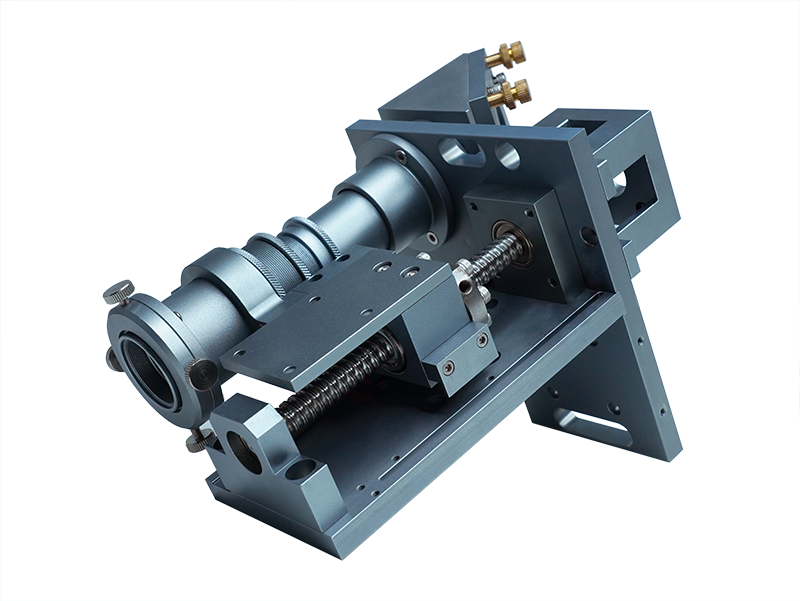
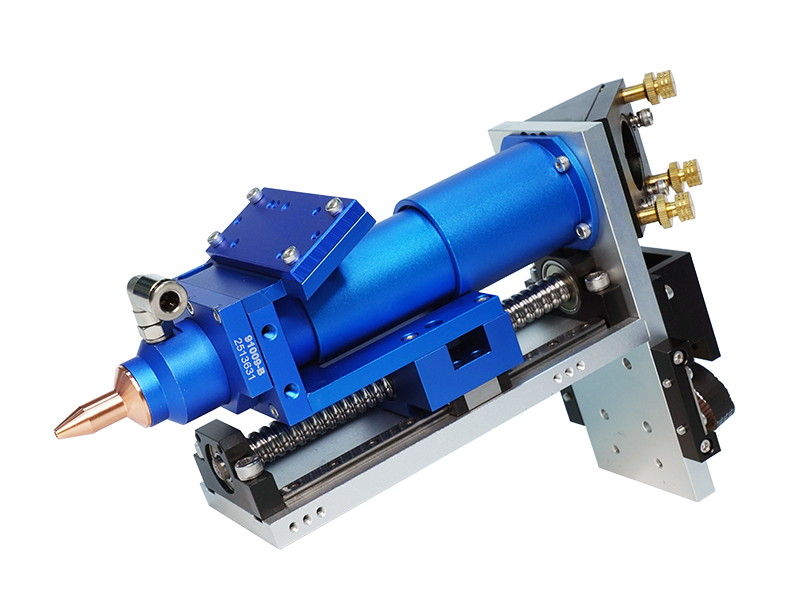
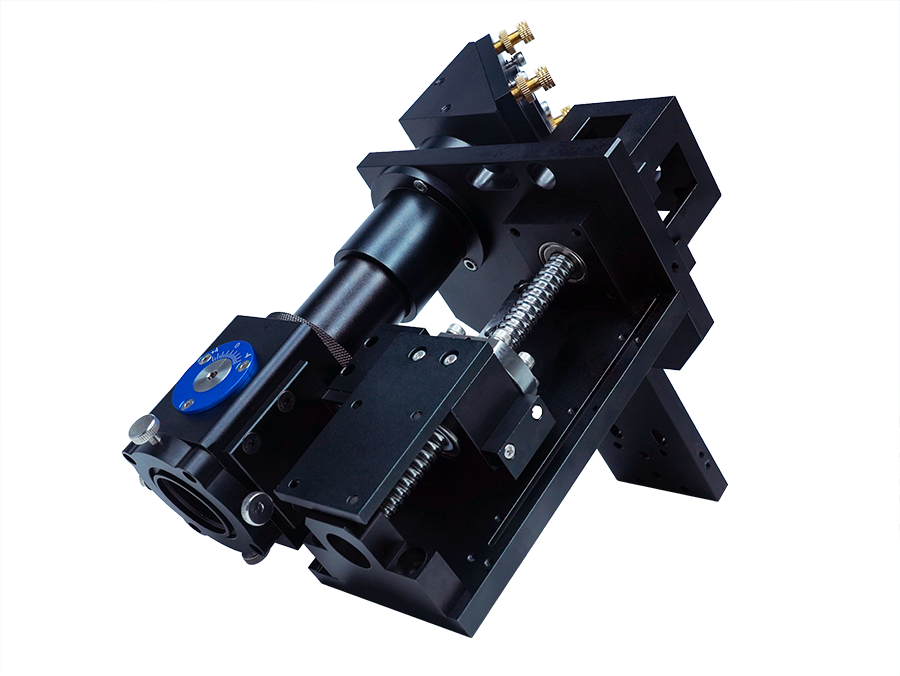
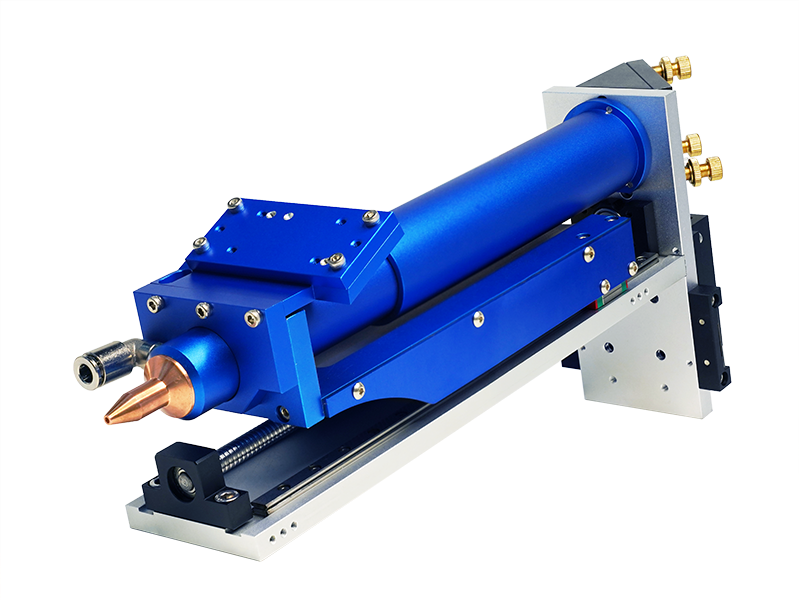
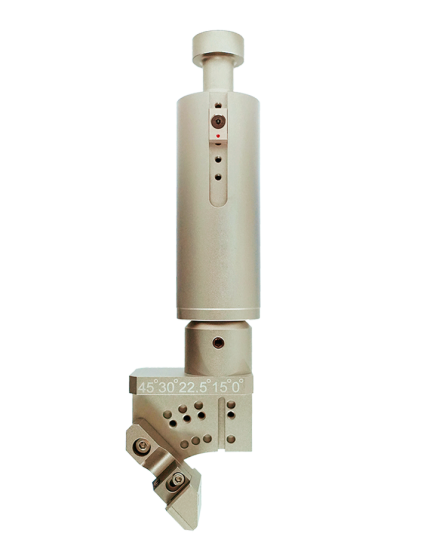
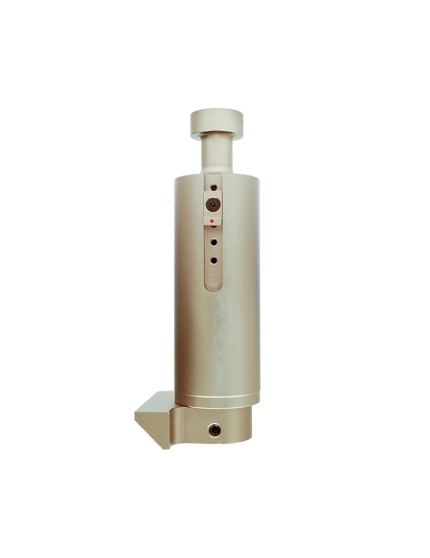
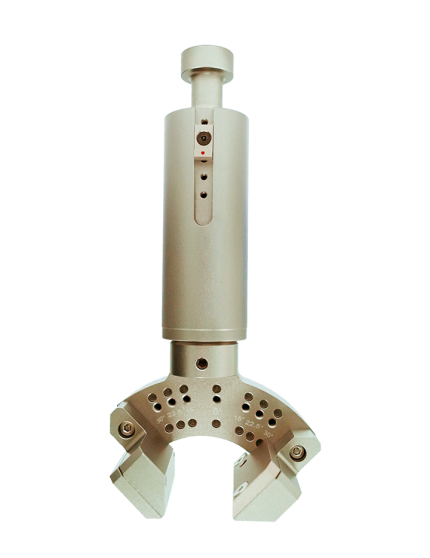
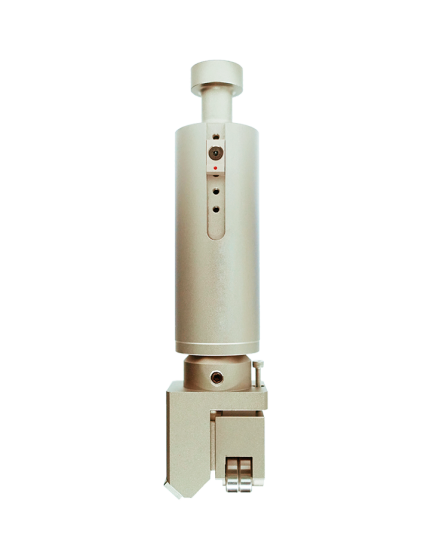
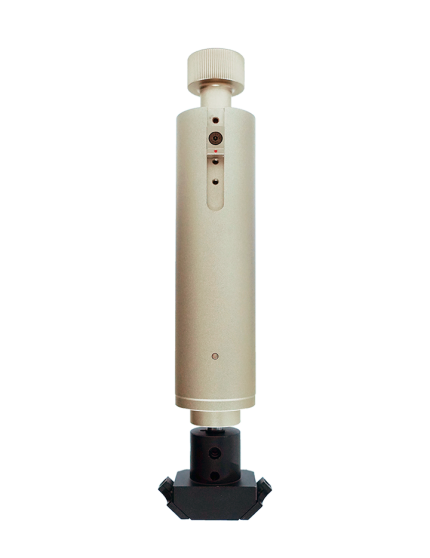
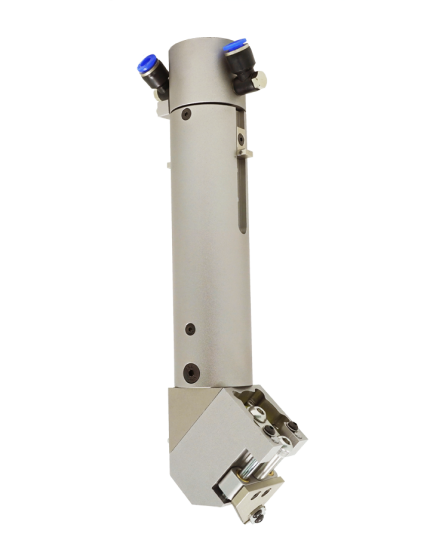
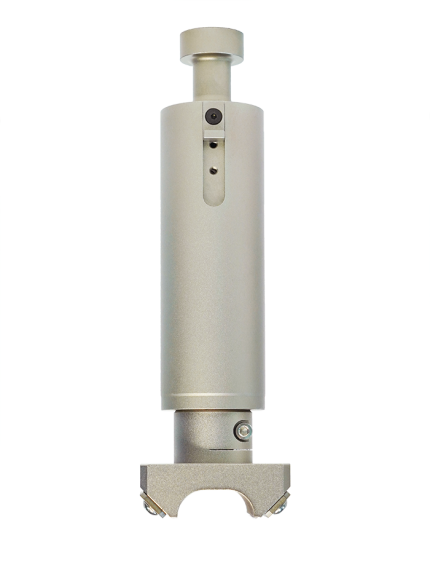
Product appearance and overview
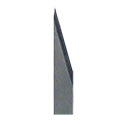
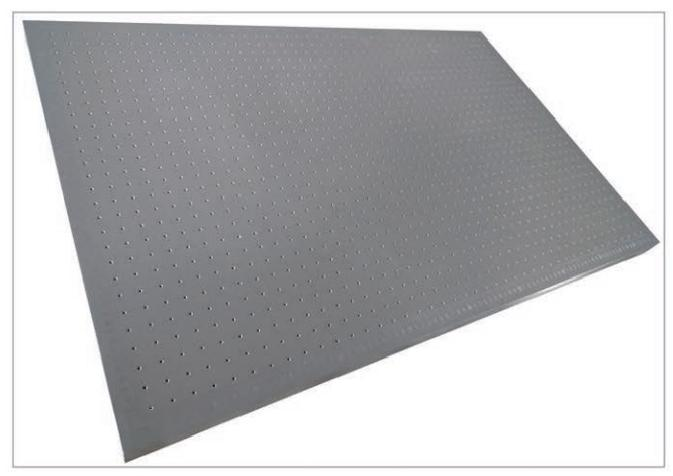
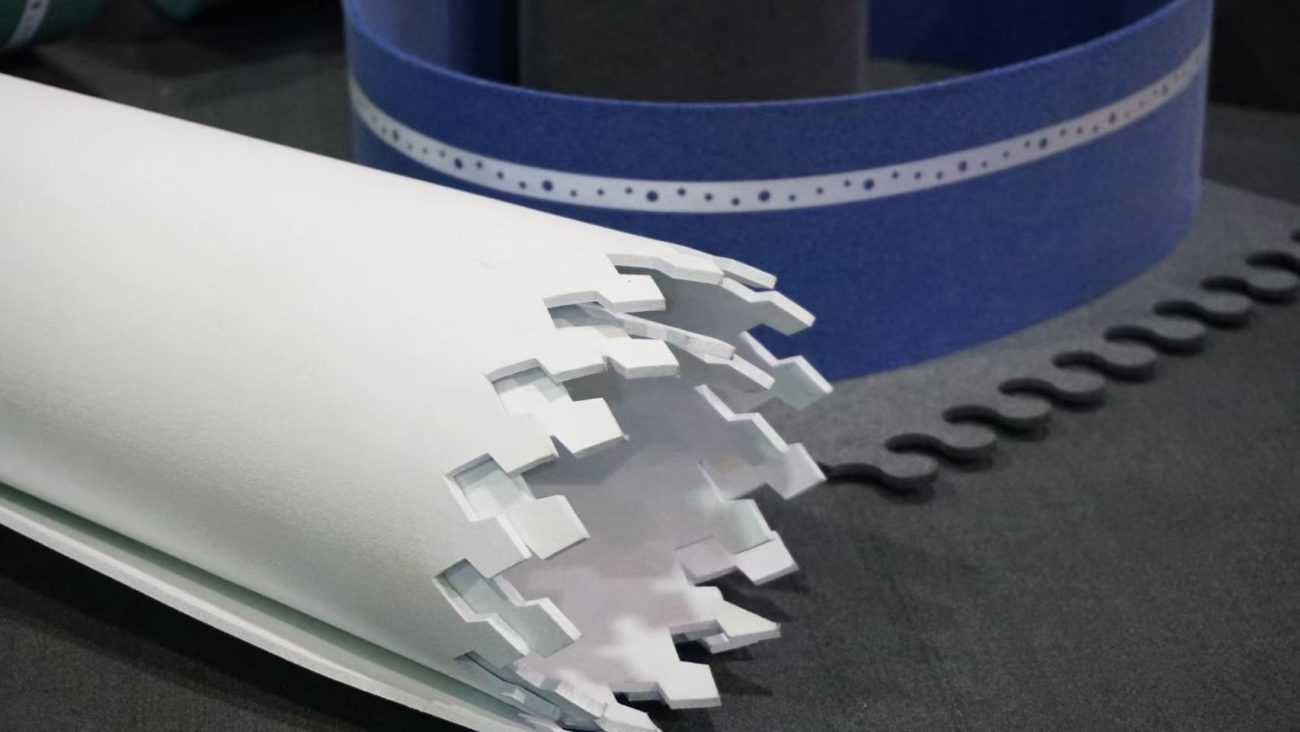
High-power vibrating bevel cutter can clamp the blade to cut V-shaped grooves and bevels, and process soft glass, PVC, honeycomb board, KT board, vertical corrugated paper, gray cardboard and other materials. The basic principle of high-power vibrating bevel cutter is to drive the blade to reciprocate at ultra-high speed through the motor to cut the material. With different blades, different materials can be processed.

Component Description

Aviation plug: connect to power supply.
Card ear: used to lock the handle.
Handle: vibration bevel blade.
Countersunk screw: lock the handle and the blade.
Motor: power element.
Knife pressure block: press the blade.
Screw: lock the blade.
Installation Dimensions

Installation Diagram
Installation process of 91275 high-power vibration bevel cutter:
1. Use a wrench to remove the countersunk screws (two in front and back) and separate the cutter head and the handle;
2. Install the handle, align the red dot of the handle ear with the notch of the tool holder locking wire, put the handle in and tighten the tool holder locking wire;
3. Install the blade (see the following 05 usage and debugging instructions for details). It is safer to install the blade first and then install the machine;
4. Install the cutter head, the direction of the cutter head pin slot is consistent with the direction of the red dot of the handle ear, the cutter head screw hole is connected with the handle screw hole, install the locking countersunk screws (two in front and back) to complete the installation.

Instructions for use and debugging
Blade installation
Loosen the two screws, align the blade and place it parallel to the blade slot. The blade should extend 20mm. Pay attention to the direction of the blade when installing.
After installing the blade, tighten the two screws. When tightening, pay attention to the gap between the blades. If the gap is too large, the blade will fall out easily. (You can loosen the screws to adjust the blade height).

High Power Oscillating Miter Cutter - Large Blade Installation

High Power Oscillating Miter Cutter - Small Blade Installation
Blade removal
Loosen the two screws and the blade can be removed after it is loosened.
Wiring Instructions

Wiring 1 (the power cord of the knife handle is 1 black/2 black/yellow-green wire)

Wiring 2 (the power cord of the knife handle is red/yellow/black)
1V+ | DC24V+ |
2GND | 24V- or COM |
1MA—2MB—3MC | Connecting handle |
1GND—3EN | Control signal line |
5SV—8+5V | Short Circuit |
Precautions
1. Non-professionals are not allowed to disassemble the blade.
2. Configure a separate switch power supply, it is recommended to configure. 24V15A or above
3. Before powering on, confirm that the wiring is correct.
Order Model
Product Parameters
Order Model | Perce91275 |
Cutting thickness/mm | 12 |
Motor power/W | 160 |
Dimensions | W87/H307/D59 |
Weight | 1.3 |
Shipping Configuration

High Power Oscillating Bevel Head

Drive
Options and accessories

High Power Oscillating Bevel Head

Single Edge Blade

160w motor

Drive
Reviews
There are no reviews yet.